
Okay, gather ’round, friends! If you’re anything like me, there are certain childhood (or let’s be honest, adulthood!) treats that just hold a special place in your heart. And near the top of that list? The iconic Wendy’s Frosty! That perfectly thick, chocolatey, spoonable goodness. Remember those hot summer days, maybe dipping your fries in it (don’t knock it ’til you’ve tried it!), or just enjoying that cool relief after a long day? What if I told you you could capture that magic right in your own kitchen? And even better? It’s ridiculously easy. Seriously. This recipe is a game-changer for satisfying that Frosty craving without leaving your cozy spot on the couch.
Why You’ll Love This Recipe
- Fast
- Easy
- Giftable
- Crowd-pleasing
Ingredients
You only need four simple ingredients for this magic to happen. You probably have a couple of them in your pantry or fridge right now!
- 300 milliliters condensed milk: This is our secret weapon for that signature sweetness and velvety smooth texture. Don’t grab evaporated milk by mistake – condensed is sweetened!
- 8 ounces Cool Whip, thawed: The shortcut hero! Cool Whip gives us that light, airy, yet stable texture without any fuss. Just make sure it’s thawed before you start.
- 8 cups 1% chocolate milk: The base flavor! Use your favorite brand. I find 1% milk works best here to get the right consistency, but you could experiment with others.
- 2 tablespoons vanilla extract: A little dash of vanilla helps boost that chocolate flavor and adds depth.
How to Make It
Alright, let’s make some Frosty dreams come true! This is so simple, it barely feels like cooking.
- First, grab the biggest bowl you own. Seriously, a large one will make whisking so much easier and prevent spills. Pour in the entire can of condensed milk and add the thawed Cool Whip. Get your whisk ready!
- Now, gently whisk the condensed milk and Cool Whip together. You want to mix them until they’re smooth and well combined. It might look a little thick and glossy, and that’s perfect.
- Next, pour in all 8 cups of the chocolate milk. Add the vanilla extract to the bowl.
- Continue whisking the mixture. Keep going until everything is completely combined and looks like well, chocolate milk! It will be quite liquidy at this stage, but don’t worry, the freezer is about to work its magic.
- Now it’s time for the chill session! Find a freezer-safe container that can hold all this deliciousness. An airtight plastic container or even a sturdy metal pan covered tightly with plastic wrap works great. Pour the mixture in.
- Cover the container tightly with a lid or plastic wrap to prevent ice crystals from forming on top. Pop it into the freezer.
- Here’s the most important step for that classic texture: Freeze for about 3 hours, BUT make sure you stir it vigorously with a spoon or whisk once every hour. This stirring is key! It breaks up ice crystals as they form, creating that smooth, slightly soft, scoopable consistency we all love about a Frosty. Keep an eye on it after the 3 hours; it should be thick but not completely solid. The exact time might vary depending on how cold your freezer is.
- Once your Frosty has reached that perfect, spoonable consistency, it’s ready! Spoon generous portions into your favorite glasses or bowls.
- Serve immediately and enjoy that homemade goodness!
Substitutions & Additions
While the classic chocolate is amazing, feel free to play around and customize your homemade Frosty!
- Milk Type: You can experiment with different types of chocolate milk – whole milk will make it a bit richer, 2% works beautifully, and you could even try non-dairy chocolate milk like almond or oat for a slight twist (texture might vary slightly).
- Make it Vanilla: Want a vanilla “Frosty”? Simply swap the chocolate milk for regular 1% or 2% milk!
- Flavor Boosts: Stir in a tablespoon of instant espresso powder for a mocha Frosty, a few drops of peppermint extract for a minty treat, or even a swirl of peanut butter before freezing!
- Toppings: Don’t forget the fun part! Top with whipped cream, chocolate syrup, sprinkles, or even mini chocolate chips.
Tips for Success
Making this is straightforward, but here are a few little pointers I’ve picked up to make sure yours turns out absolutely perfect every time:
- Don’t Skip the Stirring! I know I mentioned it in the steps, but seriously, this is the biggest factor in getting that smooth, classic Frosty texture. If you just freeze it solid, you’ll end up with a block of ice cream, not a spoonable Frosty. Setting a timer for every hour is your best friend here.
- Container Choice Matters: A wider, shallower container will freeze the mixture more evenly and make it easier to stir compared to a deep, narrow one.
- Freezer Temperature Varies: Keep in mind that freezer temperatures aren’t all the same. Your Frosty might be ready a little before or after the 3-hour mark. Start checking it after 2.5 hours, especially during that hourly stir. It should be thick enough to hold soft peaks for a moment, but still easily scoopable.
- If It Freezes Too Hard: Life happens! If you forget to stir or leave it in too long and it becomes too solid, just let it sit on the counter for 10-15 minutes to soften slightly before attempting to scoop or stir. A quick blast in a sturdy blender might also revive it, but be careful not to over-blend into a milkshake consistency unless that’s what you want!
How to Store It
Your homemade Frosty is best enjoyed fresh after its initial freeze. However, you can store leftovers!
Keep it in an airtight freezer-safe container in the freezer. It should last for a couple of weeks. Be aware that the texture might change slightly over time and it will likely freeze harder. You might need to let it sit out for a few minutes before scooping, or even give it a quick re-stir (if not totally solid) or blend to get back that perfect consistency.
FAQs
Got questions? I’ve got (brief) answers!
Q: Can I make this dairy-free?
A: You can use dairy-free chocolate milk! For the Cool Whip, look for dairy-free whipped topping alternatives available in the freezer section. The result should be similar!
Q: Why do I have to stir it every hour?
A: Stirring prevents the mixture from freezing into a solid block of ice crystals. It breaks up those crystals as they form, resulting in a much smoother, softer, and perfectly scoopable texture – just like the real deal!
Q: My Frosty froze too hard! What did I do wrong?
A: Most likely, it wasn’t stirred enough or it was left in the freezer for too long. Next time, make sure to stick to the hourly stirring schedule! You can try letting the too-hard Frosty soften on the counter for a bit before serving.
Q: Can I use homemade whipped cream instead of Cool Whip?
A: While you certainly could try using stabilized homemade whipped cream, the texture and behavior in the freezer will be different from Cool Whip. Cool Whip is designed to stay stable when frozen and thawed, which contributes uniquely to the classic Frosty texture. Using Cool Whip is definitely the easiest route to this copycat!

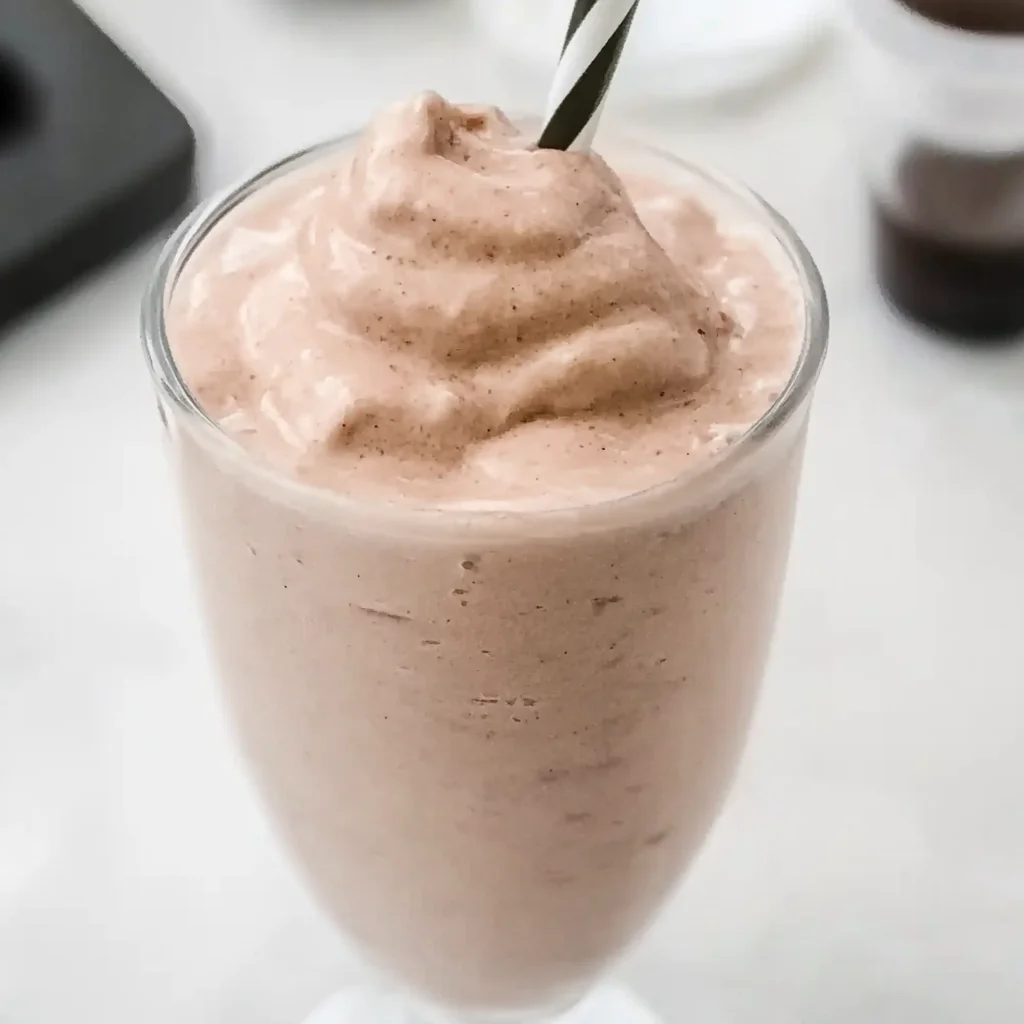
Copycat Wendy's Frosty
Equipment
- large bowl
- whisk
- Freezer-Safe Container
- spoon
Ingredients
- 300 ml condensed milk sweetened
- 8 oz Cool Whip thawed
- 8 cups 1% chocolate milk or other chocolate milk
- 2 tbsp vanilla extract
Instructions
- Step 1: Get a large bowl. Pour in the condensed milk and add the thawed Cool Whip. Whisk until smooth and well combined.
- Step 2: Pour in the 8 cups of chocolate milk and the vanilla extract.
- Step 3: Continue whisking the mixture until everything is completely combined and looks like chocolate milk.
- Step 4: Pour the mixture into a freezer-safe container and cover tightly with a lid or plastic wrap to prevent ice crystals.
- Step 5: Freeze for about 3 hours, stirring vigorously with a spoon or whisk once every hour. This stirring is crucial for the smooth texture. Start checking for readiness after 2.5 hours.
- Step 6: Once the Frosty has reached a thick but scoopable consistency, spoon generous portions into glasses or bowls and serve immediately.