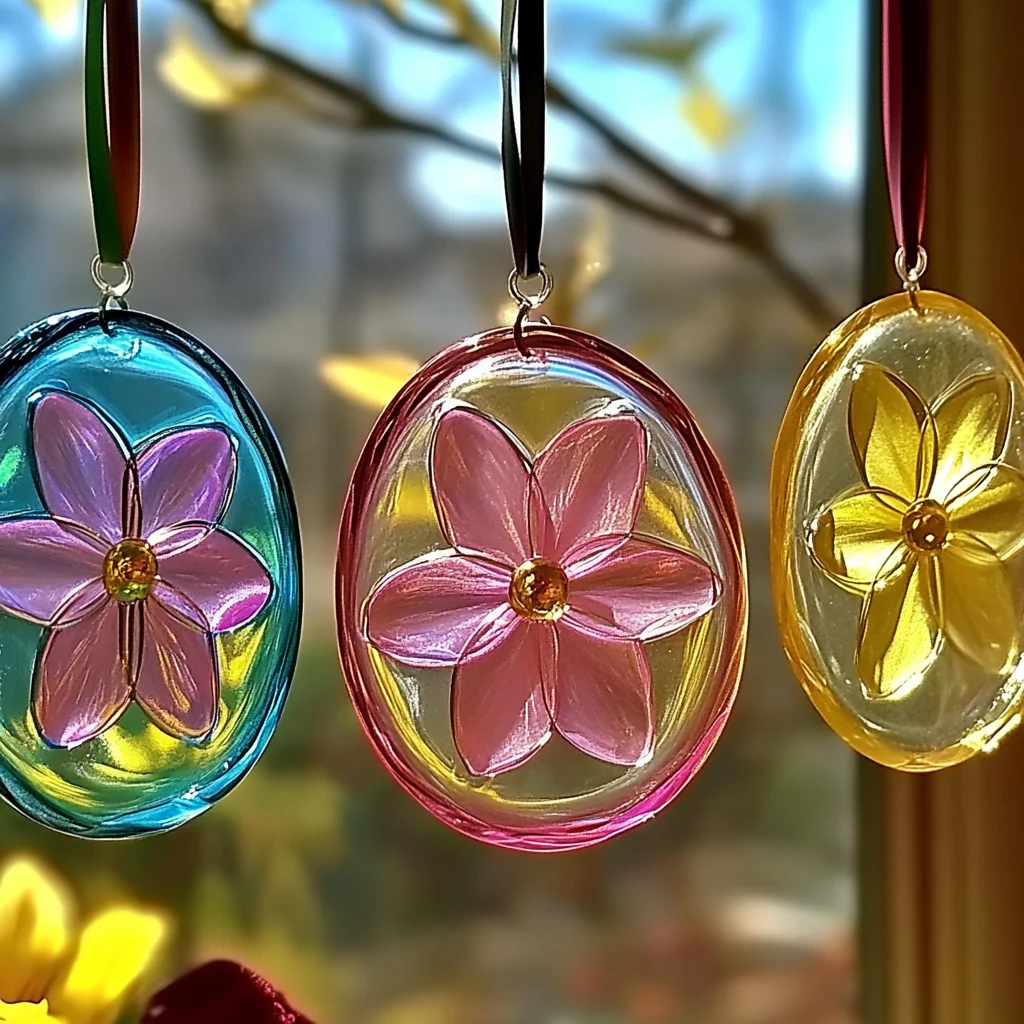
Remember those magical afternoons spent making crafts, where the sunbeams seemed to dance through your creations? There’s something so incredibly special about handmade decorations that capture the light and brighten up a room, isn’t there? Today, we’re diving into a project that will bring that same joy right into your home: making your very own bioplastic suncatchers! This is a super easy, super fun craft that even the littlest hands can help with, and the results are absolutely stunning. Get ready to create something beautiful that’s both eco-friendly and incredibly satisfying to make.
Why You’ll Love Bioplastic Suncatchers
- Fast: You can whip up the mixture in minutes!
- Easy: Simple ingredients and straightforward steps make it a breeze.
- Giftable: These make thoughtful, handmade gifts for friends and family.
- Crowd-pleasing: Perfect for parties, rainy days, or just because!
Ingredients
Gathering your supplies is as easy as pie! Here’s what you’ll need to create these little pieces of sunshine:
- 1/2 cup cornstarch: This is our magic ingredient, turning our liquid into a solid!
- 1/2 cup water: The base that helps everything dissolve.
- 1 tablespoon vinegar: Don’t worry, the smell disappears as it dries! It helps with the texture.
- 1 tablespoon glycerin: This is what gives our bioplastic that flexible, slightly jelly-like quality. You can find it in most pharmacies.
- Food coloring (optional): To add a pop of color and make your suncatchers truly unique!
- Wax paper or plastic sheet: This is what we’ll pour our mixture onto to dry.
- Spoon or craft stick: For stirring and spreading.
- Saucepan: To gently heat our ingredients.
- Small container or mold (optional): If you want to create specific shapes from the start!
How to Make Bioplastic Suncatchers
Alright, let’s get our hands a little bit messy and create some magic! It’s really quite simple, and I find the whole process soothing, almost like making a special kind of candy. If you’ve ever made Kool-Aid gummy treats, you’ll recognize some of the simple cooking steps.
-
Step 1: Mix the Magic Potion
Grab your saucepan and add the cornstarch, water, vinegar, and glycerin. Give it a good stir with your spoon or craft stick until everything is well combined. It might look a bit cloudy, but don’t worry!
-
Step 2: Heat and Thicken
Place the saucepan over medium heat. Now, here’s the key part: you need to stir constantly! Keep stirring, and you’ll see the mixture gradually start to thicken. It will transform into a lovely, translucent gel. This usually takes about 5 to 7 minutes. You’re aiming for a consistency like thick jelly.
-
Step 3: Add a Splash of Color (Optional)
Once your mixture is nice and thick, it’s time for the fun part! If you want colorful suncatchers, add a few drops of your favorite food coloring. Stir it in gently until the color is evenly distributed. You can even swirl in different colors for a marbled effect!
-
Step 4: Pour and Shape
Lay out your wax paper or plastic sheet on a flat surface. Carefully pour the thickened mixture onto the paper. If you’re using a mold, now’s the time to pour it in! Think about cookie cutters or small dishes for unique shapes.
-
Step 5: Spread it Out
Using your spoon or craft stick, spread the bioplastic mixture into thin, even layers. The thinner you spread it, the more translucent and sun-catching it will be! Try to get it as smooth as you can.
-
Step 6: The Waiting Game
Now comes the hardest part – waiting! You need to let the bioplastic dry completely. This can take anywhere from 24 to 48 hours, depending on how thick you spread it and the humidity in your home. Just find a good spot for it to rest undisturbed.
-
Step 7: Peel and Cut
Once it’s fully dry and feels firm to the touch, it’s time for the grand reveal! Carefully peel the bioplastic from the wax paper. If it’s a bit stubborn, gently lift an edge. Now, grab some scissors and cut out your desired shapes. You can make simple circles, stars, hearts, or even get creative with more intricate designs. It cuts just like stiff paper!
-
Step 8: Hang and Enjoy!
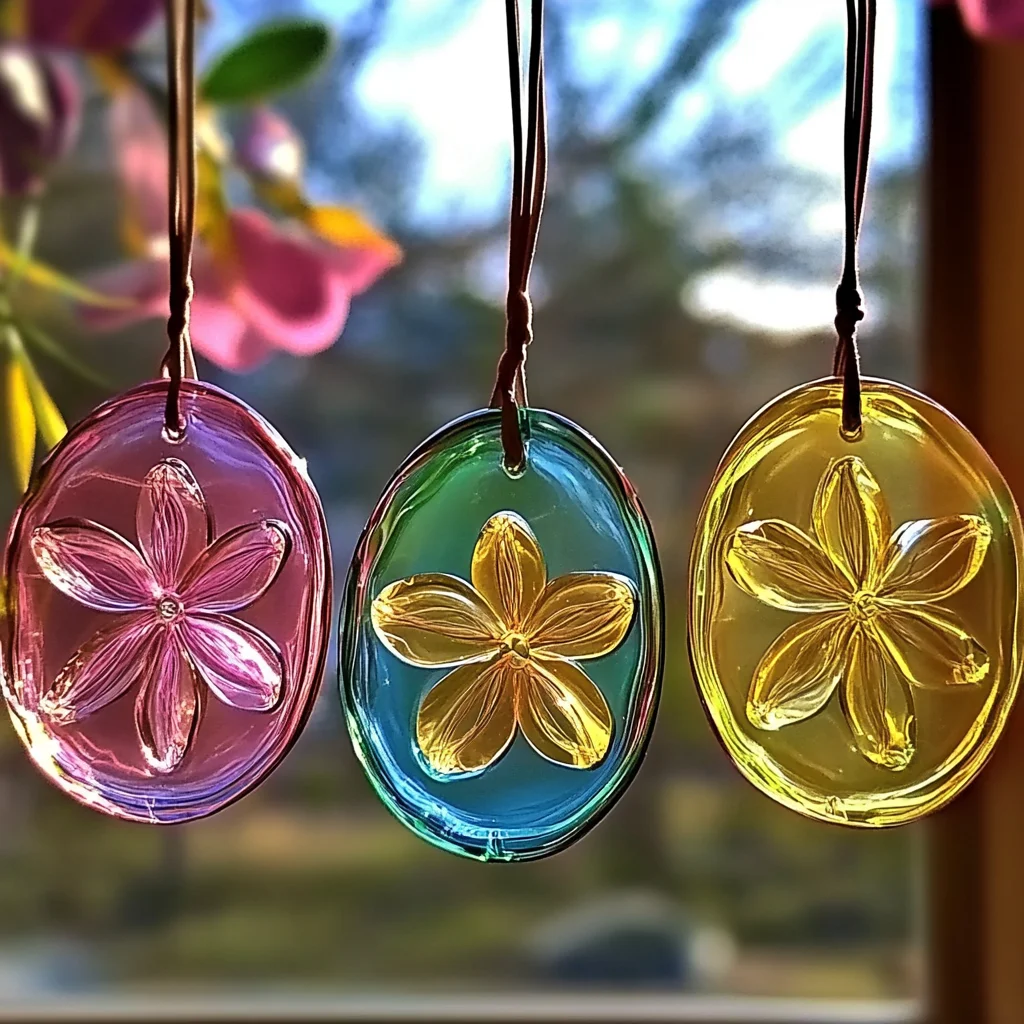
Find the perfect sunny spot in your window, hang your beautiful new suncatchers, and watch the light transform your space. It’s like bringing a bit of stained glass art indoors!
Substitutions & Additions
While this recipe is pretty straightforward, you can absolutely get creative! If you’re out of glycerin, sometimes vegetable oil can work in a pinch, though it might change the texture slightly. For added flair, you could try adding fine glitter to the mixture before it dries, or even pressing small dried flowers or leaves into the wet bioplastic. Imagine a suncatcher with delicate petals embedded in it! If you’re looking for other fun crafts that involve simple ingredients, you might enjoy making DIY aroma stones or experimenting with clear glue suncatchers for a different effect.
Tips for Success
Here are a few little secrets I’ve learned along the way to make your bioplastic suncatcher adventure even smoother:
- Stir, Stir, Stir! Don’t stop stirring when it’s on the heat. This prevents lumps and ensures a smooth, even texture.
- Thin is In! The thinner you spread the mixture, the more transparent and effective your suncatchers will be.
- Patience is a Virtue: Make sure it’s completely dry before trying to peel it. Rushing this step can lead to sticky, unworkable pieces.
- Prep Ahead: You can make the bioplastic mixture a day in advance and store it in an airtight container. Just give it a quick stir before pouring.
How to Store Bioplastic Suncatchers
Once your beautiful suncatchers are completely dry and you’re not ready to hang them, store them flat in a sturdy envelope or a thin box. Keep them away from direct sunlight or excessive moisture, as this could cause them to warp or soften over time. They are quite delicate but with proper storage, they can last for a good long while, bringing you joy for seasons to come!
FAQs
Can I use other food colorings?
Yes! Gel food coloring tends to give a more vibrant color, but liquid or powder versions will work too. Just add them gradually until you achieve your desired shade.
How long does it take to dry?
It typically takes 24 to 48 hours for the bioplastic to dry completely. This depends on the thickness of the layer and the humidity in your environment.
Can I make these glow in the dark?
That’s a fantastic idea! You could try adding a bit of glow-in-the-dark powder (available at craft stores) to the mixture along with the food coloring. It would make for some really magical night-time decorations!
Ready for more creative inspiration? Be sure to follow us on Pinterest for tons of amazing DIY projects and delicious recipes!

DIY Bioplastic Suncatchers
Equipment
- saucepan
- Spoon or craft stick
- Wax paper or plastic sheet
- Small container or mold (optional)
- Scissors
Ingredients
For the Bioplastic Mixture
- 1/2 cup cornstarch
- 1/2 cup water
- 1 tablespoon vinegar
- 1 tablespoon glycerin
- few drops food coloring optional
Other Supplies
- N/A wax paper or plastic sheet
- N/A scissors
Instructions
- Step 1: Mix the Magic Potion
Grab your saucepan and add the cornstarch, water, vinegar, and glycerin. Give it a good stir with your spoon or craft stick until everything is well combined. It might look a bit cloudy, but don't worry! - Step 2: Heat and Thicken
Place the saucepan over medium heat. Now, here’s the key part: you need to stir constantly! Keep stirring, and you'll see the mixture gradually start to thicken. It will transform into a lovely, translucent gel. This usually takes about 5 to 7 minutes. You’re aiming for a consistency like thick jelly. - Step 3: Add a Splash of Color (Optional)
Once your mixture is nice and thick, it's time for the fun part! If you want colorful suncatchers, add a few drops of your favorite food coloring. Stir it in gently until the color is evenly distributed. You can even swirl in different colors for a marbled effect! - Step 4: Pour and Shape
Lay out your wax paper or plastic sheet on a flat surface. Carefully pour the thickened mixture onto the paper. If you’re using a mold, now’s the time to pour it in! Think about cookie cutters or small dishes for unique shapes. - Step 5: Spread it Out
Using your spoon or craft stick, spread the bioplastic mixture into thin, even layers. The thinner you spread it, the more translucent and sun-catching it will be! Try to get it as smooth as you can. - Step 6: The Waiting Game
Now comes the hardest part – waiting! You need to let the bioplastic dry completely. This can take anywhere from 24 to 48 hours, depending on how thick you spread it and the humidity in your home. Just find a good spot for it to rest undisturbed. - Step 7: Peel and Cut
Once it’s fully dry and feels firm to the touch, it’s time for the grand reveal! Carefully peel the bioplastic from the wax paper. If it’s a bit stubborn, gently lift an edge. Now, grab some scissors and cut out your desired shapes. You can make simple circles, stars, hearts, or even get creative with more intricate designs. It cuts just like stiff paper! - Step 8: Hang and Enjoy!
Find the perfect sunny spot in your window, hang your beautiful new suncatchers, and watch the light transform your space. It’s like bringing a bit of stained glass art indoors!