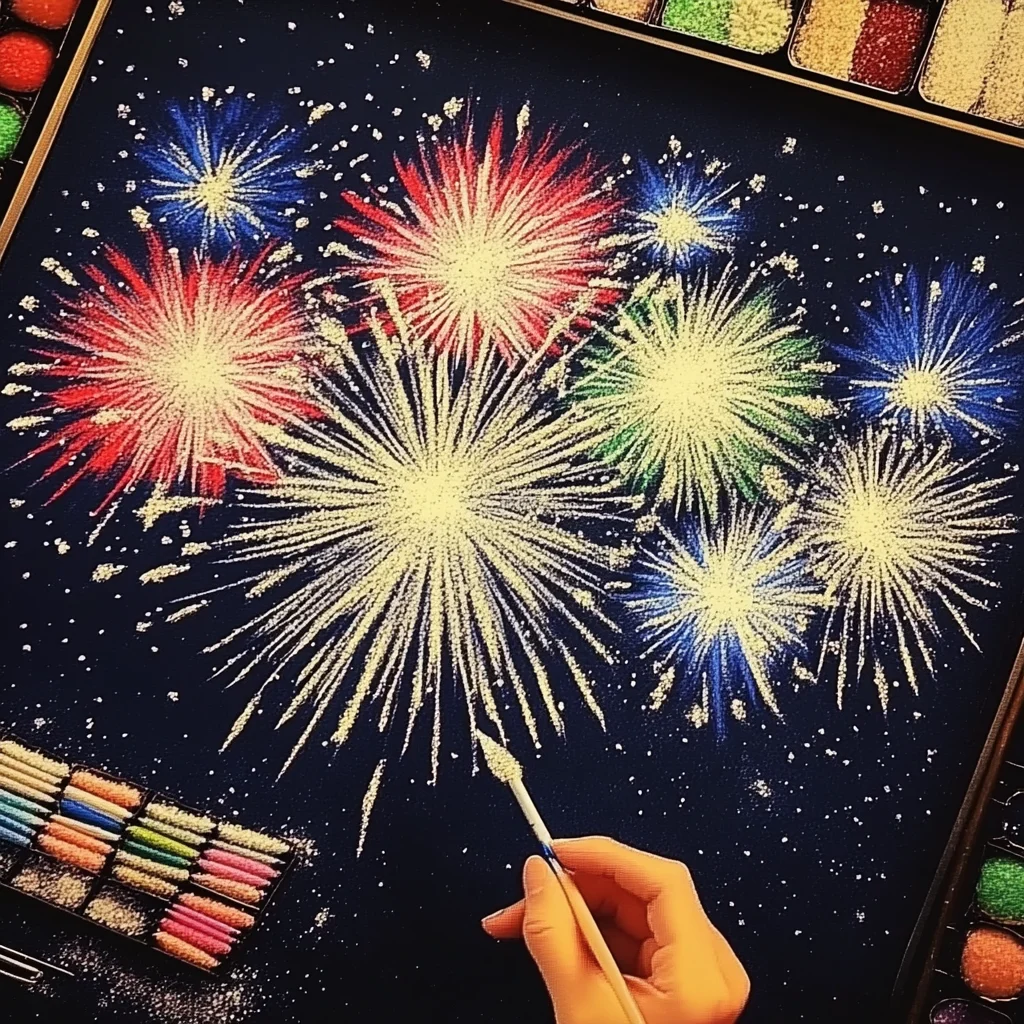
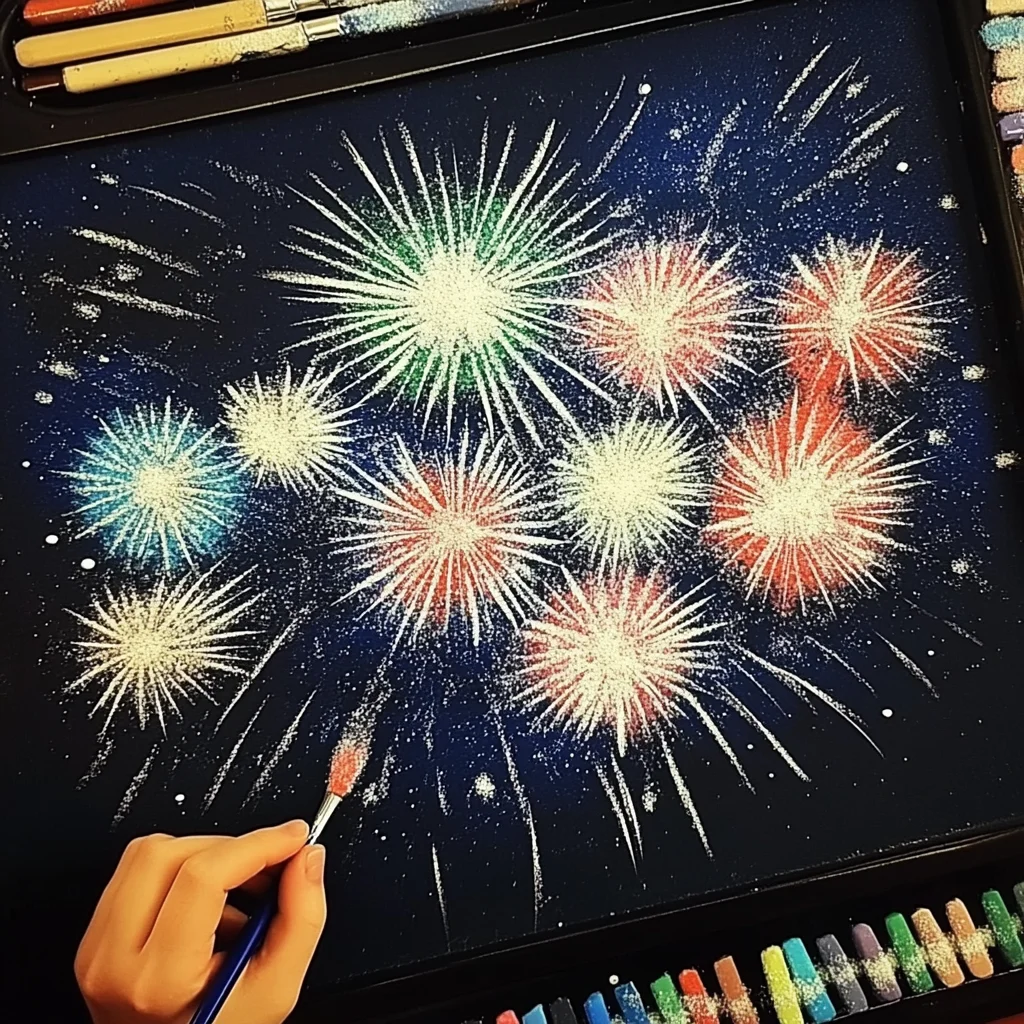
Oh, friend! Do you remember the first time you saw fireworks light up the night sky? That burst of color, that magical shimmer… it just stays with you, doesn’t it? Well, get ready to capture some of that wonder right in your own home with this incredibly easy DIY Firework Salt Painting project! It’s a craft that feels a little bit like magic, watching vibrant colors bloom and spread along salty lines, creating your own sparkling display. It’s not just a craft; it’s a memory waiting to happen, perfect for little hands and big smiles.
This isn’t some complicated art school project, promise! It’s super quick to set up and delivers instant gratification as the colors spread. Whether you’re looking for a fun afternoon activity, a way to decorate for a special occasion, or just want to explore some cool art techniques, this firework salt painting is a winner. It’s simple, stunning, and totally memorable.
Why You’ll Love DIY Firework Salt Painting
- Fast Fun: You can get started in minutes!
- Easy Peasy: No fancy skills or tools needed, just basic craft supplies.
- Giftable Gorgeousness: The finished product is beautiful and makes a lovely handmade gift.
- Crowd-Pleasing: Kids and adults alike are fascinated by how the colors spread.
Ingredients
Gather ’round, let’s look at what you’ll need. Chances are, most of these items are already tucked away in your craft bin or pantry!
- Black construction paper or watercolor paper: Black paper really makes those “firework” colors pop like the night sky! Watercolor paper is a bit sturdier, but construction paper works great too.
- White school glue: Your basic liquid white glue is perfect for creating the raised lines.
- Table salt: Yep, just the stuff you probably salt your food with! Fine table salt works best for clinging to the glue.
- Watercolors: A simple watercolor set is all you need. The more vibrant the colors, the better your fireworks will look!
- Small paintbrushes: Having a few small brushes is helpful for adding different colors.
- Water cup: To rinse your brushes and mix with the watercolors.
- Tray or baking sheet (optional): I highly recommend this! It keeps the mess contained and makes cleanup a breeze.
How to Make DIY Firework Salt Painting
Alright, let’s get those fireworks painting! It’s a really fun process, and the results are so cool.
- Prep Your Space: First things first, find a flat surface to work on. Lay down your black paper. If you’re using a tray or baking sheet, slide the paper onto that now. This is your canvas and your mess-catcher all in one!
- Draw Your Fireworks: Grab that white school glue. Now, this is where you get creative! Squeeze the glue bottle to draw firework shapes and bursts on your black paper. Think of simple lines radiating out from a point, or big swooshing shapes. The thicker the glue line, the more salt it will hold. Don’t be shy!
- Salt Shower Time: While the glue is still super wet, grab a generous amount of table salt. Hold the paper over your tray and sprinkle the salt liberally all over the glue lines. Make sure every bit of glue is covered in a thick layer of salt. Seriously, pile it on! Once covered, gently lift the paper and tap the back or tilt it to let the excess salt fall off onto the tray. You should be left with sparkling, raised salt lines tracing your firework shapes.
- Let it Set (Just a Little): Now, let the paper with the salty glue sit for about 10-15 minutes. You don’t want the glue to be completely dry, but letting it set slightly helps the salt stick really well before you add paint.
- Bring on the Color!: This is the magical part! Get your watercolors ready. Dip a small paintbrush into clean water, then pick up some color from your watercolor set. Now, gently touch the tip of your wet, colorful brush to the salt lines. Don’t paint the salt like you would a normal picture. Just touch it! Watch as the water and color spread along the salt crystals like magic, following the glue lines you drew. It’s mesmerizing!
- Add More Sparkle: Repeat step 5 with different colors. Touch various colors to different sections of your salt lines. Watch how the colors might blend or stay distinct as they spread. You can create multi-colored bursts!
- Patience is a Virtue (for Drying): Once you’re happy with your colorful fireworks, carefully move the painting to a safe spot where it can lie flat. It needs several hours to dry completely. The glue and salt will harden, locking in those vibrant colors. Don’t try to stand it up or touch it too much until it’s fully dry!
Substitutions & Additions
Want to change things up? Here are a few ideas!
- Paper Color: While black makes the colors pop like fireworks, you could try dark blue or even a deep purple paper for a different night sky effect.
- Paint Options: If you don’t have watercolors, you can dilute food coloring or liquid watercolors with a little water in small cups. Just make sure the color is concentrated enough to show up on the black paper.
- Glitter Power: Want extra sparkle? After step 3, while the salt is still fresh, you could sprinkle a tiny bit of fine glitter onto the salted areas before tapping off the excess.
- Beyond Fireworks: This technique isn’t just for fireworks! Try drawing other shapes – stars, mandalas, or abstract designs. It’s a fun way to make any line drawing pop with color! Just like getting creative with fun recipes like Kool-Aid Gummy Treats, sometimes the simplest ideas spark the most joy.
Tips for Success
Keep these little pointers in mind to make your firework painting experience smooth and fun!
- Don’t Skimp on Salt: Make sure you really cover the glue completely with salt. Any exposed glue won’t wick the color as well.
- Tap Gently: When removing excess salt, a gentle tap is all you need. Don’t brush it off, or you might mess up your glue lines.
- Wet, But Not Soaking Wet: Dip your brush in water and then the paint, but don’t have your brush dripping. Too much water can make the colors spread too much or even dissolve the glue/salt mixture in areas you don’t want it to. You want just enough to let the color flow along the salt crystals.
- Touch, Don’t Paint: Remember to just touch the brush tip to the salt. Let the salt do the work of pulling and spreading the color!
- Give it Time: The drying time is important. Be patient and let it dry completely flat to prevent warping.
- Contain the Mess: Seriously, the tray is your best friend here. Salt gets everywhere! Think of it like baking – you wouldn’t want to make Easy Cake Mix Toffee Bars without a baking pan, right? A tray helps contain the salt mess here just as well.
How to Store DIY Firework Salt Painting
Once your beautiful artwork is completely dry and the salt is hard, you can display it! If you want to keep it long-term, storing it flat is best to prevent any potential cracking of the salt lines over time. You could even frame it behind glass to protect it and hang it up as a vibrant piece of homemade art! Just make sure it’s totally, completely dry before framing.
FAQs
Got questions? Let’s see if I can help!
Q: Can I use different types of salt?
A: Table salt works best because the fine grains pack closely together, which helps the color spread evenly. Coarser salts like Epsom salt might not give the same effect.
Q: My colors aren’t spreading well. Why?
A: Make sure you used enough salt to fully cover the glue lines. Also, check that your brush is wet enough (but not dripping!) and that your watercolors are concentrated enough. Touching the wet brush directly to the salt line is key for the capillary action to work.
Q: Is this project suitable for really young children?
A: Yes, with supervision! Little ones might need help with the glue drawing or the salting part, but the painting step where the color spreads is often the most captivating for them. It’s a fun sensory activity, much like playing with Sugar Water Painting.
Q: Can I use glitter glue?
A: You could try, but the glitter in the glue might interfere with the salt’s ability to soak up and spread the watercolor effectively. Plain white glue is your best bet for this specific technique.
For more fun ideas and delicious recipes, be sure to follow Food Knight on Pinterest!

Sparkling Sky: Easy DIY Firework Salt Painting
Equipment
- Tray or baking sheet
- Small paintbrushes
- Water cup
Ingredients
- Black construction paper or watercolor paper Black paper really makes those "firework" colors pop like the night sky! Watercolor paper is a bit sturdier, but construction paper works great too.
- White school glue Your basic liquid white glue is perfect for creating the raised lines.
- Table salt Yep, just the stuff you probably salt your food with! Fine table salt works best for clinging to the glue.
- Watercolors A simple watercolor set is all you need. The more vibrant the colors, the better your fireworks will look!
- Small paintbrushes Having a few small brushes is helpful for adding different colors.
- Water cup To rinse your brushes and mix with the watercolors.
- Tray or baking sheet optional: I highly recommend this! It keeps the mess contained and makes cleanup a breeze.
Instructions
- Step 1: Prep Your Space: First things first, find a flat surface to work on. Lay down your black paper. If you're using a tray or baking sheet, slide the paper onto that now. This is your canvas and your mess-catcher all in one!
- Step 2: Draw Your Fireworks: Grab that white school glue. Now, this is where you get creative! Squeeze the glue bottle to draw firework shapes and bursts on your black paper. Think of simple lines radiating out from a point, or big swooshing shapes. The thicker the glue line, the more salt it will hold. Don't be shy!
- Step 3: Salt Shower Time: While the glue is still super wet, grab a generous amount of table salt. Hold the paper over your tray and sprinkle the salt liberally all over the glue lines. Make sure every bit of glue is covered in a thick layer of salt. Seriously, pile it on! Once covered, gently lift the paper and tap the back or tilt it to let the excess salt fall off onto the tray. You should be left with sparkling, raised salt lines tracing your firework shapes.
- Step 4: Let it Set (Just a Little): Now, let the paper with the salty glue sit for about 10-15 minutes. You don't want the glue to be completely dry, but letting it set slightly helps the salt stick really well before you add paint.
- Step 5: Bring on the Color!: This is the magical part! Get your watercolors ready. Dip a small paintbrush into clean water, then pick up some color from your watercolor set. Now, gently touch the tip of your wet, colorful brush to the salt lines. Don't paint the salt like you would a normal picture. Just touch it! Watch as the water and color spread along the salt crystals like magic, following the glue lines you drew. It's mesmerizing!
- Step 6: Add More Sparkle: Repeat step 5 with different colors. Touch various colors to different sections of your salt lines. Watch how the colors might blend or stay distinct as they spread. You can create multi-colored bursts!
- Step 7: Patience is a Virtue (for Drying): Once you're happy with your colorful fireworks, carefully move the painting to a safe spot where it can lie flat. It needs several hours to dry completely. The glue and salt will harden, locking in those vibrant colors. Don't try to stand it up or touch it too much until it's fully dry!