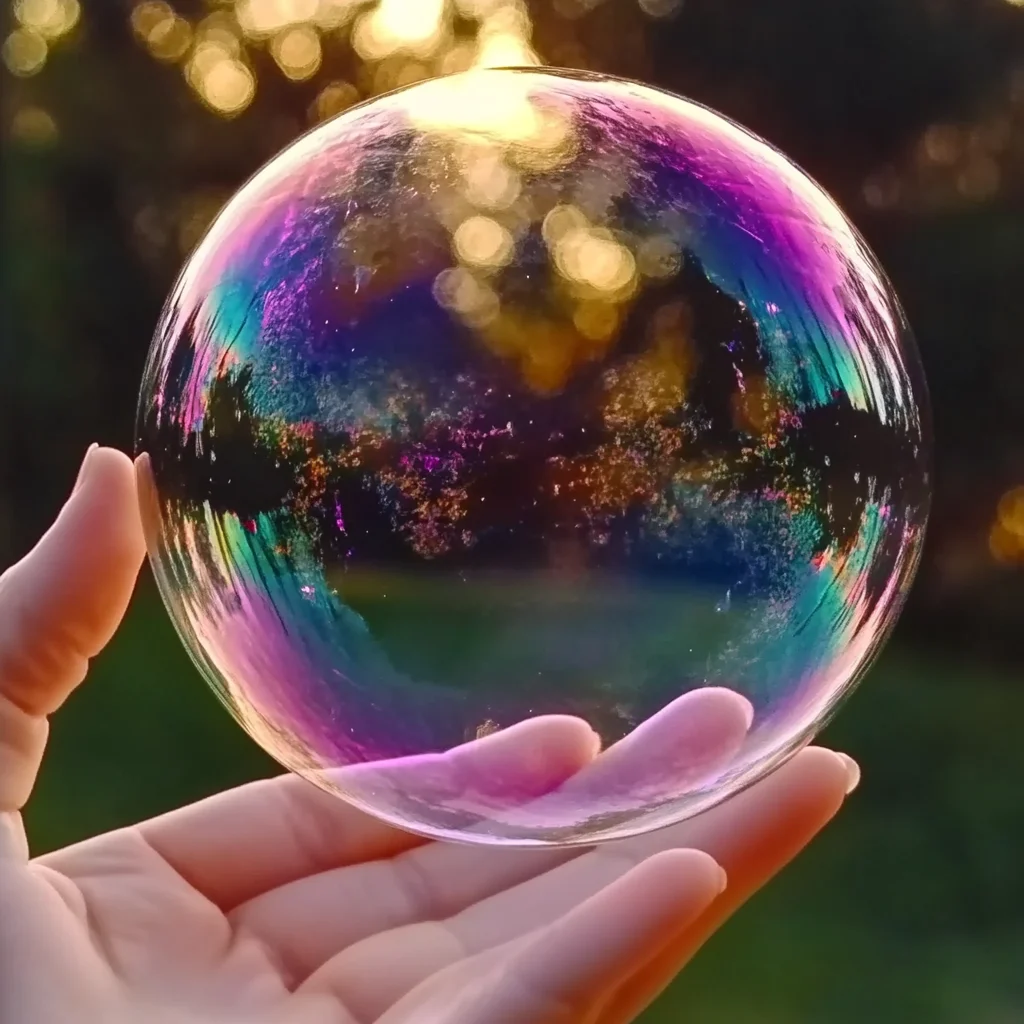
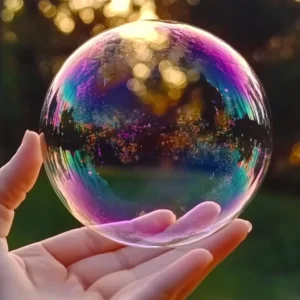
Remember those carefree summer days, running through the yard, chasing after shimmering spheres of joy? There’s something truly magical about bubbles, isn’t there? They capture that childhood wonder in a fleeting, iridescent moment. Today, we’re going to recreate a little bit of that magic right in your own kitchen with a super simple recipe for “Fun Bouncing Bubbles.” It’s so easy, you’ll be wondering why you never made them before!
Why You’ll Love Fun Bouncing Bubbles
- Fast: Seriously, you can whip this up in minutes!
- Easy: Perfect for little hands to help with (supervised, of course!).
- Giftable: Package the solution in a cute jar with some gloves for a fun, handmade gift.
- Crowd-pleasing: Who doesn’t love bubbles? They’re a guaranteed hit at parties or just a regular afternoon.
Ingredients
You only need a few things from your pantry to make this bubbly magic happen:
- 1/4 cup tap water: Just regular old water will do the trick.
- 2 tablespoons sugar: This is the secret ingredient that makes the bubbles stronger and more bouncy!
- 1 tablespoon dish soap: Your favorite brand works best, but avoid anything too “ultra” or “sudsy” as it can create too much foam.
How to Make Fun Bouncing Bubbles
Gather your ingredients and let’s get started on this delightful little project. It’s so straightforward, you’ll be making bubbles in no time!
- Combine water and sugar: Grab a small bowl and pour in your tap water. Then, add the sugar.
- Dissolve the sugar: Stir, stir, stir! You want to make sure all that sugar is completely dissolved into the water. A gentle stir is best to avoid making too many suds just yet.
- Add the dish soap: Now for the magic ingredient – the dish soap! Slowly and gently pour it into the sugary water. Again, stir very carefully. We’re aiming for a smooth solution, not a foamy mess.
- Get ready to blow: The coolest part about this recipe is how you blow them! You’ll need some winter gloves (the fuzzy kind work great!), old socks, or even a small piece of fabric. Dip these into your bubble solution, making sure they are well saturated.
- Blow some bubbles! Now, gently blow through the saturated gloves, socks, or fabric. You’ll be amazed at the big, beautiful, bouncy bubbles that emerge! It’s a totally different way to experience bubble-making. If you’re looking for more fun craft ideas, you might enjoy making DIY Bouncing Rainbow Balls or exploring how to Make Glow-in-the-Dark Bubbles for even more glowing fun!

Substitutions & Additions
While this recipe is wonderfully simple as is, you can totally jazz it up if you like!
- Glycerin Boost: For extra-strong, super-bouncy bubbles, try adding about 1 tablespoon of glycerin (found in the baking or health aisle at most grocery stores) to the mixture. It really makes a difference!
- Color Burst: Want colored bubbles? Add a drop or two of food coloring to the solution. Just be mindful that this might stain hands or surfaces.
- Sparkle and Shine: For a bit of sparkle, you can add a pinch of glitter to the bubble solution. It’s mesmerizing to watch glittery bubbles float by!
Tips for Success
Here are a few little tricks I’ve learned along the way to make your bubble-blowing experience even better:
- Patience is Key: When mixing the dish soap, go slow! Too much agitation will create a ton of foam, making it harder to get perfect bubbles.
- The Right Fabric Matters: Thicker, more absorbent materials like fuzzy gloves or socks tend to work best for creating those big, bouncy bubbles.
- Gentle Blowing: Don’t blow too hard! A steady, gentle breath is what creates the best, most robust bubbles.
- Prep Ahead: You can mix up a bigger batch of bubble solution and store it in an airtight container. This is great if you’re planning a party or just want bubbles on demand! It’s a great idea for when you’re preparing for outdoor fun, much like how you might prepare for a picnic with something like Grilled Chicken Bites with Creamy Garlic Sauce.
How to Store Fun Bouncing Bubbles
If you have any leftover bubble solution, it’s super easy to store. Just pour it back into a clean, airtight container or bottle. It should stay good for a week or two, but it’s always best to check if it looks cloudy or smells off. For best results, make a fresh batch each time!
FAQs
Q: Can I use a different kind of soap?
A: While most dish soaps work, it’s best to avoid detergents or soaps that create a lot of suds on their own. Regular dish soap is your safest bet for creating those bouncy bubbles.
Q: Why aren’t my bubbles bouncing?
A: Make sure you used sugar in the solution! The sugar is what helps strengthen the bubble film. Also, try using the recommended fabric or glove method – it really makes a difference in the bubble’s structure.
Q: Can kids make this bubble solution themselves?
A: With supervision, yes! An adult should handle the measuring and mixing of ingredients, but kids can definitely help with stirring and dipping the gloves. It’s a fun way to get them involved in a simple science experiment!
Q: Can I add anything to make the bubbles last longer?
A: Absolutely! Adding glycerin or corn syrup to the mixture can help the bubbles last longer. Start with a tablespoon and see how it affects your bubbles!
Ready for some bubbly fun? Give this easy recipe a try and let the good times float! Don’t forget to follow our Pinterest for more fun recipes and DIYs!
DIY Fun Bouncing Bubbles
Equipment
- Small bowl
- Stirring Utensil
- Winter Gloves, Old Socks, or Fabric Pieces
Ingredients
For the Bubble Solution
- 1/4 cup tap water
- 2 tablespoons sugar secret ingredient for stronger, bouncier bubbles
- 1 tablespoon dish soap avoid 'ultra' or 'sudsy' types
Optional Additions
- 1 tablespoon glycerin for extra-strong, super-bouncy bubbles
- 1-2 drops food coloring for colored bubbles
- 1 pinch glitter for sparkly bubbles
Instructions
- Step 1: In a small bowl, combine the tap water and sugar.
- Step 2: Stir gently until the sugar is completely dissolved. Avoid creating too many suds.
- Step 3: Slowly and gently pour the dish soap into the sugary water. Stir very carefully to create a smooth solution, not a foamy mess.
- Step 4: Dip winter gloves, old socks, or pieces of fabric into the bubble solution, ensuring they are well saturated.
- Step 5: Gently blow through the saturated material to create big, beautiful, bouncy bubbles.