
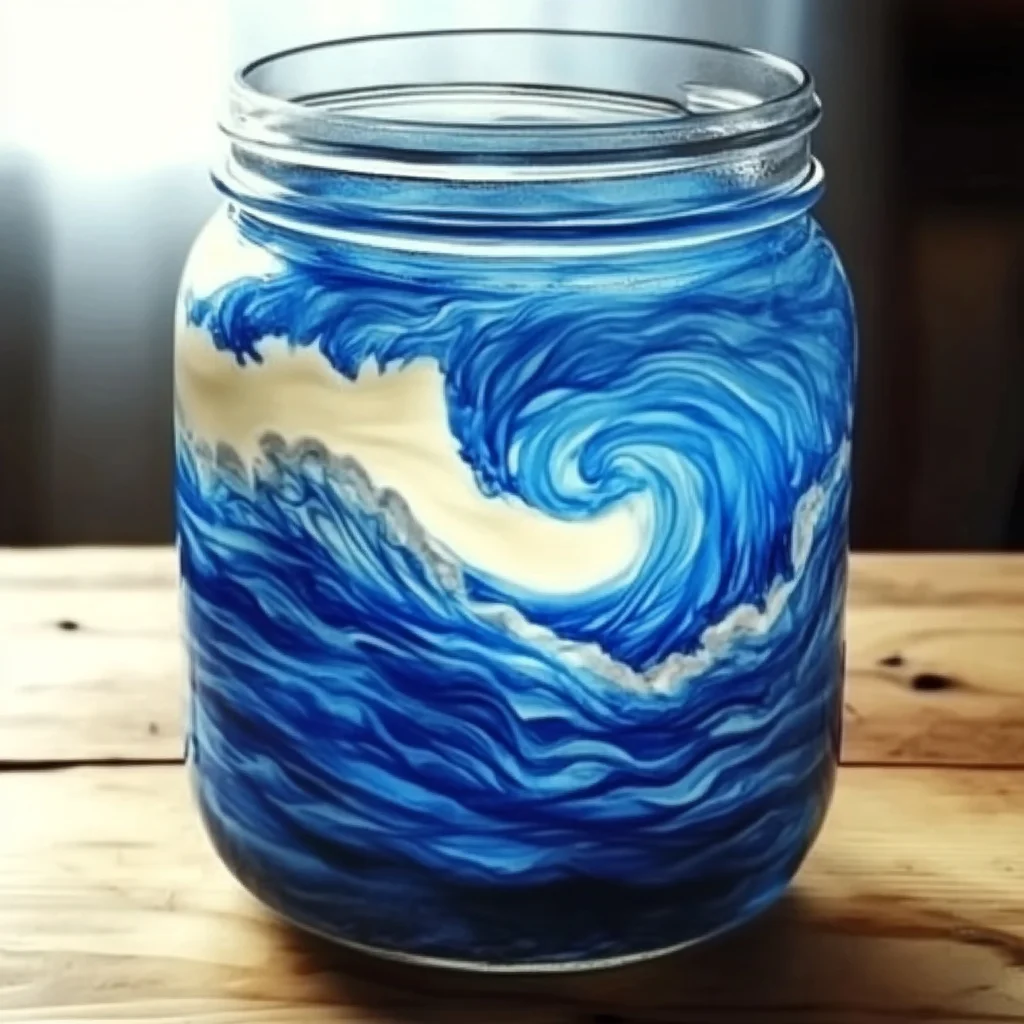
Remember those magical moments as a kid, captivated by a snow globe or a lava lamp? There’s something so wonderfully calming about watching mesmerizing swirls and gentle movements. Today, we’re diving into a super simple, incredibly fun craft that brings a little bit of that magic right into your home: the Swirling Ocean Jar! This project is so easy, you can whip it up in minutes, and it’s perfect for a quiet afternoon of creativity or even as a thoughtful handmade gift.
Why You’ll Love Swirling Ocean Jar
- Fast: Ready to amaze in under 10 minutes!
- Easy: Kid-friendly and perfect for beginners.
- Giftable: A unique, handmade present for birthdays or holidays.
- Crowd-pleasing: Guaranteed to bring smiles to little faces (and big ones too!).
Ingredients
Gathering your supplies is a breeze! You probably have most of these around your house already:
- 1 clear glass or plastic jar with lid: A mason jar works perfectly, but any clean, clear container with a secure lid will do.
- 1/2 cup water: Just plain old tap water is perfect.
- 1/2 cup baby oil or vegetable oil: Baby oil gives a clearer swirl, but vegetable oil works too.
- Blue food coloring: To give our ocean its beautiful hue.
- 1 tablespoon glitter (blue, silver, or iridescent): This is where the sparkle comes from!
- 1 spoon or craft stick: For a little mixing.
How to Make Swirling Ocean Jar
Alright, let’s get our craft on! It’s incredibly straightforward, I promise.
- Start with the water: Carefully pour the 1/2 cup of water into your clean jar.
- Add some ocean color: Add a few drops of your blue food coloring to the water. Give it a gentle stir with your spoon or craft stick until the color is evenly mixed. Think of it as creating your ocean’s base.
- Pour in the oil: Now, slowly and gently pour the 1/2 cup of baby oil (or vegetable oil) on top of the colored water. You’ll notice they don’t mix – that’s exactly what we want! This separation is key to the swirling effect.
- Bring on the sparkle: Sprinkle your tablespoon of glitter into the jar. This is the magic! Watch it catch the light as it slowly drifts down. If you’re feeling adventurous, you could even check out some of our other sparkly craft ideas, like these DIY Sugar Water Paintings for a different kind of shimmer!
- Seal and swirl: Screw the lid on the jar nice and tight. Now comes the fun part! Gently swirl the jar around. Watch as the glitter dances through the colored water and oil, creating a mesmerizing, watery effect. It’s like having your own mini ocean to play with!
Substitutions & Additions
Want to customize your ocean jar? Here are some ideas:
- Different Colors: Feel free to experiment with green or turquoise food coloring for different ocean vibes. You could even try a few colors at once for a multi-toned sea!
- More Sparkle: Don’t be shy with the glitter! Different colors and sizes of glitter can create unique effects.
- Ocean Critters: For a really special touch, you could try adding small, waterproof plastic sea creatures to the jar before sealing it. Imagine tiny fish swimming in your DIY ocean!
- Layered Look: If you want to get creative with colors, you could try adding a layer of colored water, then oil, then another color of water, and so on, creating distinct bands of color. This is a bit trickier but can be very rewarding! If you enjoy layering, you might also like our Easy Baked Ziti, which has delightful layers of flavor.
Tips for Success
Here are a few little pointers to make sure your ocean jar turns out perfectly:
- Use a good seal: Make sure your lid is on super tight, especially if little ones will be handling the jar.
- Avoid shaking vigorously: Gentle swirling is best for the mesmerizing effect. Too much shaking can make the oil and water temporarily emulsify, and it will take time to settle.
- Cleanliness is key: Make sure your jar is clean and dry before you start to avoid any cloudy residue.
- Prep ahead: You can easily assemble several of these in advance for party favors or a craft day. They make fantastic calm-down tools too!
How to Store Swirling Ocean Jar
These ocean jars are pretty low-maintenance! You can store them upright on a shelf. As long as the lid is secure, they should last for a long time. If you notice the water color fading slightly over time, it’s easy to refresh the contents. They are a wonderful, calming sensory toy that can be brought out whenever needed.
FAQs
Q: Can I use rubbing alcohol instead of oil?
A: While you could technically use rubbing alcohol, it doesn’t create the same visual separation as oil, so you wouldn’t get the classic swirling effect. Stick with oil for the best results!
Q: My glitter isn’t swirling much. What can I do?
A: Make sure you’re using a good amount of glitter and that your oil layer is thick enough. You can also try adding different types of glitter for more movement.
Q: Can I make this with my kids?
A: Absolutely! This is a fantastic craft for kids. Just supervise the pouring of liquids and ensure the lid is secured tightly.
We hope you have as much fun making and playing with your Swirling Ocean Jar as we do! It’s such a simple way to create a little bit of wonder. If you loved this craft, be sure to check out our other fun DIY projects like Snowstorm in a Jar or the Mini Volcano in a Jar for more science-meets-fun activities!
For more creative ideas and delicious recipes, don’t forget to follow us on Pinterest!
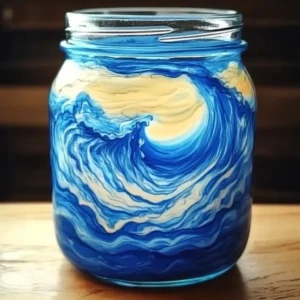
Swirling Ocean Jar
Equipment
- Clear glass or plastic jar with lid
- Spoon or craft stick
Ingredients
- 1 clear glass or plastic jar with lid A mason jar works perfectly, but any clean, clear container with a secure lid will do.
- 0.5 cup water Just plain old tap water is perfect.
- 0.5 cup baby oil or vegetable oil Baby oil gives a clearer swirl, but vegetable oil works too.
- few drops blue food coloring To give our ocean its beautiful hue.
- 1 tablespoon glitter blue, silver, or iridescent. This is where the sparkle comes from!
- 1 spoon or craft stick for mixing
Instructions
- Step 1: Carefully pour the 1/2 cup of water into your clean jar.
- Step 2: Add a few drops of your blue food coloring to the water. Give it a gentle stir with your spoon or craft stick until the color is evenly mixed. Think of it as creating your ocean's base.
- Step 3: Now, slowly and gently pour the 1/2 cup of baby oil (or vegetable oil) on top of the colored water. You'll notice they don't mix – that's exactly what we want! This separation is key to the swirling effect.
- Step 4: Sprinkle your tablespoon of glitter into the jar. This is the magic! Watch it catch the light as it slowly drifts down.
- Step 5: Screw the lid on the jar nice and tight. Now comes the fun part! Gently swirl the jar around. Watch as the glitter dances through the colored water and oil, creating a mesmerizing, watery effect. It’s like having your own mini ocean to play with!