
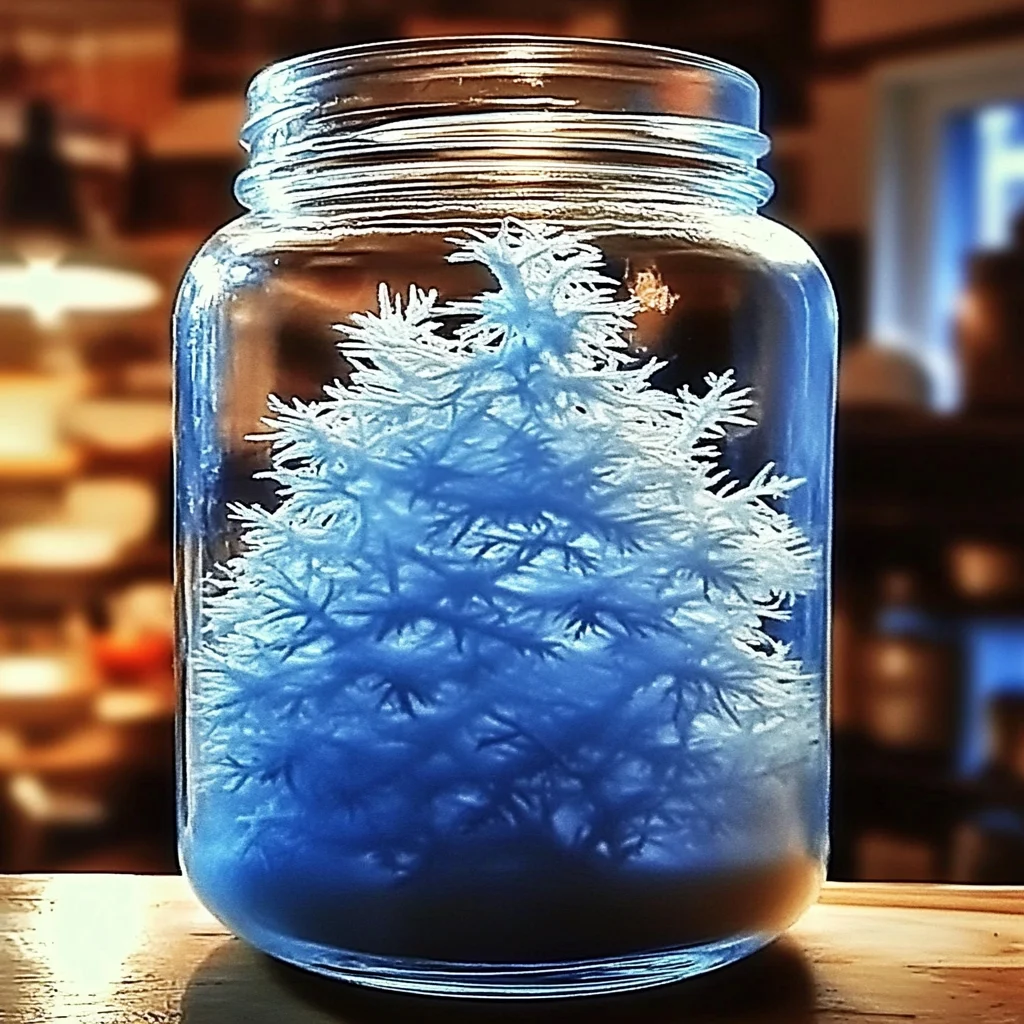
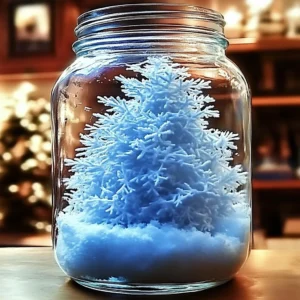
Remember those simple things that just felt magical when you were a kid? Finding a perfect snowflake on your mitten, watching rain streaks race down a windowpane, or shaking up a sparkly snow globe? This “Snowstorm in a Jar” recipe takes me right back to that cozy, wonder-filled feeling. It’s not really a recipe you eat, of course, but it’s a recipe for pure joy and calm in a jar! You can whip one up in just minutes with things you likely already have around the house. It’s a fantastic activity for kids, a soothing sensory tool, or just a lovely little piece of magic to keep on your desk.
Why You’ll Love Snowstorm in a Jar
- Fast: Seriously, you can make this in under 5 minutes!
- Easy: No complicated steps, just mixing simple ingredients.
- Giftable: Pop a ribbon on it and you have a charming handmade gift.
- Crowd-pleasing: Kids and adults alike are fascinated by the swirling snow.
- Calming: Watching the glitter fall is surprisingly soothing.
Ingredients
Gathering your ingredients is part of the fun! Here’s what you’ll need:
- 1 clear glass jar (12–16 oz) with a tight-fitting lid: Mason jars are perfect, but any clean, clear jar will do. Make sure the lid seals well!
- 1 cup water: Just regular tap water is fine.
- 2 tablespoons baby oil or vegetable oil: Baby oil gives a slightly clearer separation, but vegetable oil works great too and is often on hand.
- 1 teaspoon white school glue: This is the secret ingredient that helps the “snow” float and swirl just right.
- 1 tablespoon aluminum powder or fine white glitter: Aluminum powder creates a beautiful, shimmery effect, while fine glitter gives you classic snowglobe sparkle. Use whatever you prefer or have!
- 1 drop blue food coloring (optional): This gives the water a hint of icy blue, making the white snow pop even more.
How to Make Snowstorm in a Jar
Alright, let’s make some magic! Follow these super simple steps:
- First things first, grab your clean, clear jar. You’ll fill it about three-quarters full with water. Leave some space at the top!
- Now, if you like that icy blue look, add just one tiny drop of blue food coloring to the water. Give it a gentle stir with a spoon or stick to mix it in evenly. It should be just a hint of color, like a winter sky.
- Slowly stir in 1 teaspoon of white school glue. Don’t worry if it looks a little cloudy at first, that’s totally normal! The glue helps change the water’s density just enough to make the glitter float and fall slower.
- Next, it’s time for the snow! Sprinkle in your 1 tablespoon of fine glitter or aluminum powder. Give it another gentle stir to try and distribute it a bit, but don’t overmix. Some clumping is okay – that’s part of the fun!
- Now, for the oil layer. Slowly pour in the 2 tablespoons of baby oil or vegetable oil down the inner side of the jar. This creates a separate layer that the glitter will drift through.
- Carefully and tightly seal the lid on the jar. Make sure it’s on nice and snug so your snowstorm stays contained!
- The best part! Shake the jar vigorously to create the snowstorm effect! Watch the glitter swirl and drift down like snow. It’s mesmerizing! This is a fantastic sensory activity, much like making easy homemade worry stones for calming little hands.
Substitutions & Additions
Want to get creative? Here are a few ideas:
- Glitter Colors: Use silver, iridescent, or even a mix of fine glitters instead of just white. A tiny bit of chunky glitter can add variety, but mostly fine glitter works best for the “snow” effect.
- Different Oil: While baby oil or vegetable oil is recommended, you could experiment with other clear oils, keeping in mind density will affect the fall rate.
- Sparkly Objects: For a true snow globe feel, you could glue a small, waterproof figurine to the inside of the lid (facing down into the jar) before sealing it.
- Glycerin: Some DIY snow globe recipes use a bit of glycerin instead of glue to slow the glitter’s fall. You could experiment with adding a teaspoon or two of glycerin along with or instead of the glue.
- Theme It: Add tiny plastic snowflakes or other winter-themed confetti if you have them.
Tips for Success
Making this is pretty straightforward, but here are a few pointers I’ve picked up:
- Use Fine Glitter: Coarse glitter tends to sink too quickly. Fine glitter or powder is key for that slow, swirling effect.
- Don’t Overfill: Leaving some air space is important for shaking and creating movement.
- Seal Tightly: Seriously, double-check that lid! Maybe even add a bit of waterproof glue around the rim if you’re making these with kids and want to prevent spills.
- Gentle Stirring: When adding the glue and glitter, stir gently to incorporate without creating too many bubbles, which can obscure the view.
- Let it Settle: The first time you shake it, you might get a lot of bubbles. Let it sit for a bit, and they’ll usually dissipate.
How to Store Snowstorm in a Jar
Storing your Snowstorm in a Jar is easy! Just keep it upright on a shelf, desk, or table. Since it’s sealed, it should last a very long time, providing hours of quiet entertainment. Just make sure it’s kept out of direct sunlight, which could potentially affect the contents over time, though it’s unlikely with these materials.
FAQs
Q: Can I use chunky glitter?
A: You can add a tiny bit for sparkle, but mostly fine glitter or powder works best for the “snow” effect as it falls slower.
Q: Is this safe for young children?
A: Once the lid is tightly sealed, it can be a wonderful sensory toy. Always supervise young children to ensure the jar remains sealed and intact.
Q: Why isn’t my glitter falling slowly?
A: Make sure you used the school glue, as it helps change the water’s density. The ratio of water to oil and the type of oil can also affect the speed.
Q: Can I use food coloring other than blue?
A: Absolutely! You could make a purple or green snowstorm, or leave the water clear for a classic look.
Follow us on Pinterest for more easy recipes and fun ideas!
Snowstorm in a Jar (A Super Easy & Magical DIY!)
Equipment
- Clear glass jar with tight-fitting lid
- Spoon or stick
Ingredients
- Clear glass jar (12–16 oz) with a tight-fitting lid
- 1 cup water
- 2 tablespoons baby oil or vegetable oil
- 1 teaspoon white school glue
- 1 tablespoon aluminum powder or fine white glitter
- 1 drop blue food coloring optional
Instructions
- Step 1: First things first, grab your clean, clear jar. You’ll fill it about three-quarters full with water. Leave some space at the top!
- Step 2: Now, if you like that icy blue look, add just one tiny drop of blue food coloring to the water. Give it a gentle stir with a spoon or stick to mix it in evenly. It should be just a hint of color, like a winter sky.
- Step 3: Slowly stir in 1 teaspoon of white school glue. Don’t worry if it looks a little cloudy at first, that’s totally normal! The glue helps change the water’s density just enough to make the glitter float and fall slower.
- Step 4: Next, it’s time for the snow! Sprinkle in your 1 tablespoon of fine glitter or aluminum powder. Give it another gentle stir to try and distribute it a bit, but don’t overmix. Some clumping is okay – that’s part of the fun!
- Step 5: Now, for the oil layer. Slowly pour in the 2 tablespoons of baby oil or vegetable oil down the inner side of the jar. This creates a separate layer that the glitter will drift through.
- Step 6: Carefully and tightly seal the lid on the jar. Make sure it’s on nice and snug so your snowstorm stays contained!
- Step 7: The best part! Shake the jar vigorously to create the snowstorm effect! Watch the glitter swirl and drift down like snow. It’s mesmerizing!