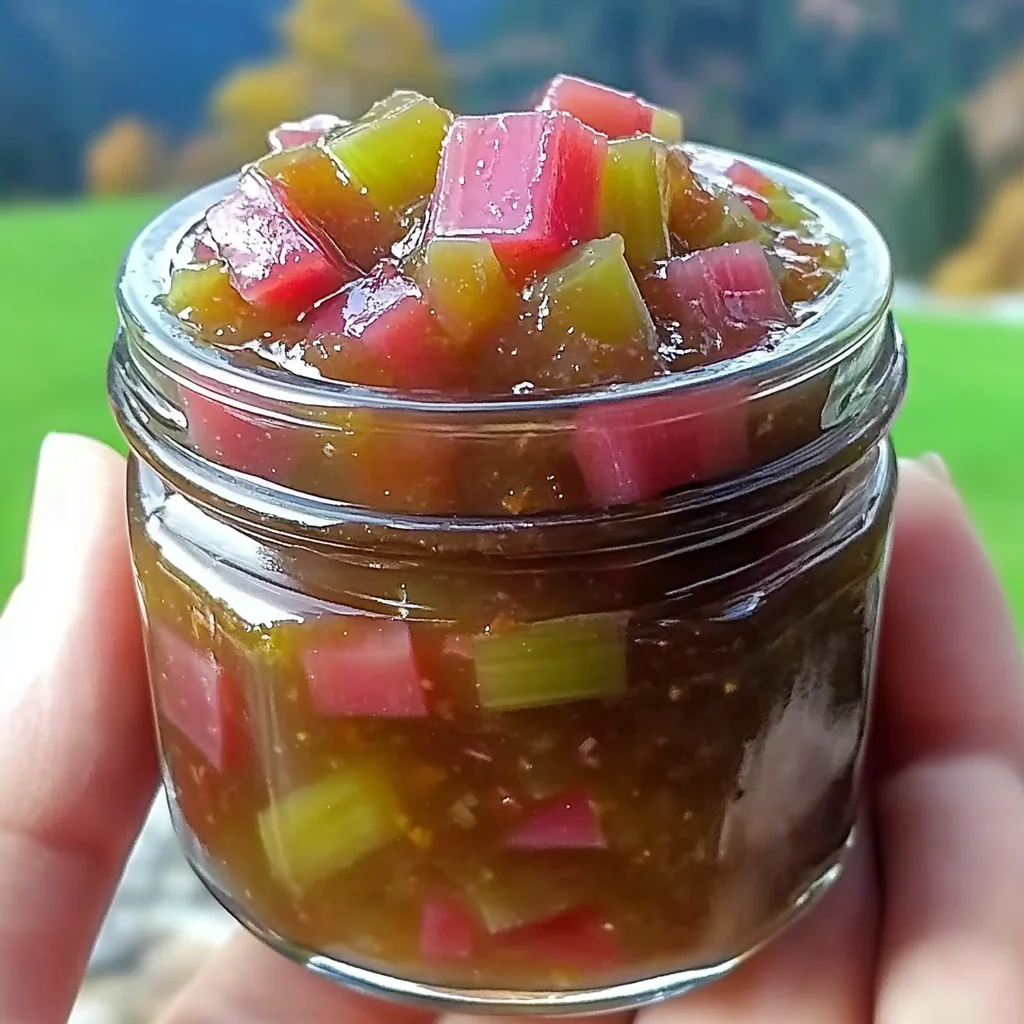
There’s something magical about that first bite of homemade relish, isn’t there? It reminds me of crisp autumn days and cozy kitchen afternoons, the kind where the air is filled with sweet aromas and the promise of delicious things to come. Today, we’re diving into a recipe that perfectly captures that feeling: Rhubarb Relish. This isn’t just any relish; it’s a vibrant, tangy, and perfectly balanced condiment that will elevate everything from cheese boards to grilled meats. And the best part? It’s surprisingly simple to whip up!
Why You’ll Love Rhubarb Relish
- Fast: You can have this delicious relish ready in under an hour!
- Easy: Seriously, minimal effort for maximum flavor.
- Giftable: Package it up in pretty jars, and you’ve got a homemade gift that’s sure to impress.
- Crowd-pleasing: Its unique sweet and tart profile is a guaranteed hit.
Ingredients
Gathering your ingredients is the first step to relish-making success! Here’s what you’ll need:
- 4 cups diced rhubarb: The star of our show! Fresh or frozen works just fine.
- 1 large red onion, finely chopped: For a bit of savory depth.
- 1 green bell pepper, finely chopped: Adds a fresh, slightly crisp note.
- 1 red bell pepper, finely chopped: For a touch of sweetness and lovely color.
- 1 cup apple cider vinegar: The tangy backbone of our relish.
- 1 ½ cups granulated sugar: To balance out that rhubarb tartness.
- ½ cup brown sugar: Adds a lovely caramel undertone.
- 1 tablespoon mustard seeds: For that classic relish pop and subtle spice.
- 1 teaspoon ground ginger: A warm, aromatic kick.
- ½ teaspoon ground cinnamon: For cozy sweetness.
- ½ teaspoon ground cloves: A hint of deep spice that’s just perfect.
- ¼ teaspoon ground black pepper: Just a touch to awaken the flavors.
- ¼ teaspoon salt: Enhances all the other ingredients.
How to Make Rhubarb Relish
Alright, let’s get cooking! This recipe is so straightforward, you’ll be wondering why you haven’t made it sooner.
- Get Everything Together: Grab your biggest saucepan – a large stockpot is ideal here. Dump in all your ingredients: the diced rhubarb, chopped red onion and bell peppers, apple cider vinegar, both sugars, mustard seeds, ginger, cinnamon, cloves, black pepper, and salt. Give it all a really good stir to combine everything.
- Bring to a Boil: Place the saucepan over medium heat. Stir it occasionally as it heats up. You’ll want to bring the whole mixture to a gentle boil.
- Simmer and Thicken: Once it’s boiling, reduce the heat to low. Let it simmer uncovered. This is where the magic happens! Stir it every so often to make sure nothing sticks to the bottom and to help it thicken. You’re looking for a syrupy consistency. This usually takes about 30-45 minutes, but keep an eye on it. I sometimes test it by dipping a spoon in – if the liquid coats the back of the spoon nicely, it’s probably ready.
- Cool Slightly: Once it’s reached that lovely syrupy stage, remove the saucepan from the heat. Let it cool down for about 15-20 minutes. It will thicken up even more as it cools.
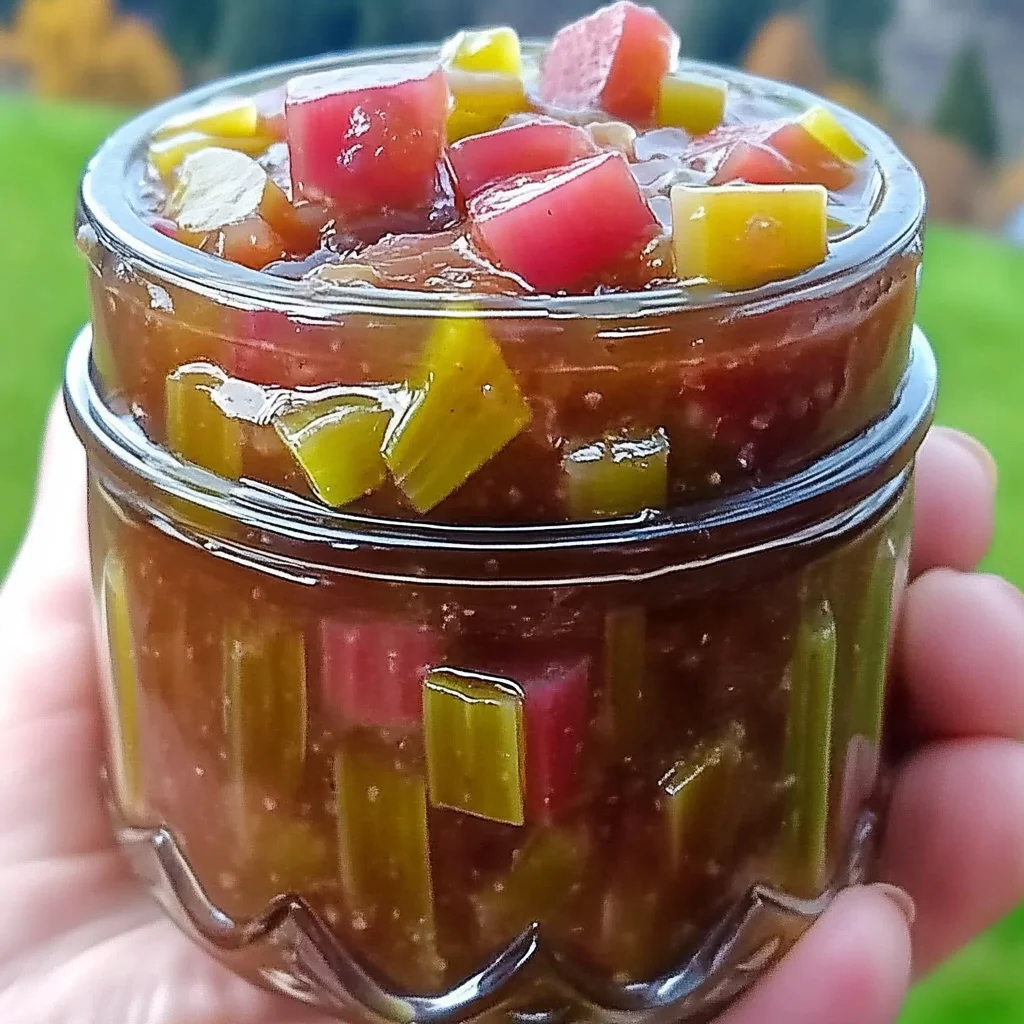
- Jar It Up! While the relish is cooling a bit, get your sterilized jars ready. Carefully spoon the warm relish into the jars, leaving a little headspace at the top. Seal them up tight and pop them into the refrigerator. This relish is best when it has a few days to chill and let the flavors meld, so plan to let it sit for at least 24 hours before digging in. It will keep well in the fridge for up to 3 weeks.
- For Longer Storage: If you want to keep this deliciousness around for longer, or if you’re planning to give jars as gifts, you can process them using a boiling water bath. Follow standard canning procedures for 10 minutes. This ensures a good seal and longer shelf life.
Substitutions & Additions
This recipe is fantastic as is, but there’s always room for a little creativity! Here are some ideas:
- Spice It Up: Add a pinch of red pepper flakes along with the other spices for a touch of heat.
- Citrus Zest: A tablespoon of orange or lemon zest added in the last 10 minutes of simmering can add a lovely brightness.
- Dried Cranberries: For an extra burst of tartness and texture, toss in about ½ cup of dried cranberries during the last 15 minutes of simmering.
- Other Fruits: While rhubarb is the star, you could experiment with adding a cup of diced strawberries or raspberries along with it for a different flavor profile. If you’re a fan of fruity flavors, you might also enjoy our Rhubarb Honey Peach Cupcakes!
Tips for Success
A few little tips to ensure your Rhubarb Relish turns out perfectly every time:
- Rhubarb Prep: Make sure your rhubarb is well-diced. If you’re using frozen, there’s no need to thaw it first.
- Chopping Consistency: Aim for a fine chop for the onion and bell peppers. This ensures they soften nicely in the relish and don’t overwhelm the texture.
- Don’t Rush the Simmer: While it’s tempting to speed things up, allowing the relish to simmer uncovered is key to getting that thick, syrupy texture. If it seems too thin after 45 minutes, you can simmer it a little longer.
- Sterilizing Jars: This is super important for food safety, especially if you plan to can the relish. You can sterilize jars by washing them thoroughly and then boiling them in water for at least 10 minutes.
- Flavor Development: I always find that rhubarb relish tastes even better after a day or two in the fridge. The flavors really get a chance to mingle and deepen. It’s perfect for serving alongside some delicious grilled chicken, like our Honey Pineapple Grilled Chicken!
How to Store Rhubarb Relish
Once your relish has cooled and been jarred, it’s time to talk storage! As mentioned, it will keep beautifully in the refrigerator for up to 3 weeks. If you’ve processed it in a boiling water bath, the sealed jars can be stored in a cool, dark pantry for up to a year. Once opened, always refrigerate any leftovers.
FAQs
- What can I use Rhubarb Relish on? Oh, the possibilities! It’s amazing with cheese and crackers, pork chops, grilled chicken, turkey sandwiches, burgers, and even on top of a scoop of vanilla ice cream for a unique sweet-and-tart treat!
- Can I use frozen rhubarb? Absolutely! Frozen rhubarb works just as well as fresh in this recipe.
- My relish isn’t thickening, what did I do wrong? Patience is key here! Ensure you’re simmering it uncovered and giving it enough time. If it’s still too thin after the recommended time, continue simmering on low heat, stirring frequently, until it reaches your desired consistency.
- Can I adjust the sweetness? Yes, you can! If you prefer a tarter relish, you can slightly reduce the sugar. If you like it sweeter, you can add a little more. Taste and adjust as you go, especially towards the end of the simmering process.
I hope you fall in love with this Rhubarb Relish as much as I have! It’s a fantastic way to enjoy the unique flavor of rhubarb, and it’s so versatile. Happy cooking!
For more delicious recipes and kitchen inspiration, be sure to follow us on Pinterest!

Sweet & Tart Rhubarb Relish
Equipment
- Large Saucepan/Stockpot
- Sterilized Jars
Ingredients
Rhubarb Relish Ingredients
- 4 cups diced rhubarb Fresh or frozen works fine.
- 1 large red onion finely chopped
- 1 green bell pepper finely chopped
- 1 red bell pepper finely chopped
- 1 cup apple cider vinegar
- 1 ½ cups granulated sugar
- ½ cup brown sugar
- 1 tablespoon mustard seeds
- 1 teaspoon ground ginger
- ½ teaspoon ground cinnamon
- ½ teaspoon ground cloves
- ¼ teaspoon ground black pepper
- ¼ teaspoon salt
Instructions
- Step 1: Grab your biggest saucepan – a large stockpot is ideal here. Dump in all your ingredients: the diced rhubarb, chopped red onion and bell peppers, apple cider vinegar, both sugars, mustard seeds, ginger, cinnamon, cloves, black pepper, and salt. Give it all a really good stir to combine everything.
- Step 2: Place the saucepan over medium heat. Stir it occasionally as it heats up. You’ll want to bring the whole mixture to a gentle boil.
- Step 3: Once it’s boiling, reduce the heat to low. Let it simmer uncovered. This is where the magic happens! Stir it every so often to make sure nothing sticks to the bottom and to help it thicken. You’re looking for a syrupy consistency. This usually takes about 30-45 minutes, but keep an eye on it. I sometimes test it by dipping a spoon in – if the liquid coats the back of the spoon nicely, it’s probably ready.
- Step 4: Once it’s reached that lovely syrupy stage, remove the saucepan from the heat. Let it cool down for about 15-20 minutes. It will thicken up even more as it cools.
- Step 5: While the relish is cooling a bit, get your sterilized jars ready. Carefully spoon the warm relish into the jars, leaving a little headspace at the top. Seal them up tight and pop them into the refrigerator. This relish is best when it has a few days to chill and let the flavors meld, so plan to let it sit for at least 24 hours before digging in. It will keep well in the fridge for up to 3 weeks.
- Step 6: If you want to keep this deliciousness around for longer, or if you’re planning to give jars as gifts, you can process them using a boiling water bath. Follow standard canning procedures for 10 minutes. This ensures a good seal and longer shelf life.