
Remember those summer evenings, chasing bubbles that shimmered in the fading light? There’s something truly magical about bubbles, isn’t there? They bring out the kid in all of us! Well, get ready to take that magic to a whole new level because we’re not just making any bubbles today. We’re making glow-in-the-dark bubbles! Imagine the fun when the sun goes down or inside on a rainy day with a blacklight. It’s ridiculously easy, super quick, and will make you the coolest person on the block (or in the house!). This simple DIY project is perfect for parties, a fun afternoon activity, or just adding a little sparkle to an ordinary day.
Why You’ll Love Glow-in-the-Dark Bubbles
- Fast to make
- Easy peasy
- Super fun for all ages
- Great for parties or rainy days
- Definitely memorable
Ingredients
Gathering your ingredients is part of the fun! You likely have most of these lying around, making this a truly simple project.
- 1 cup Bubble Solution: Store-bought works great, but I’ve also included a quick recipe below if you want to whip up your own!
- 1 Yellow or Green Highlighter: This is where the magic comes from! The fluorescent ink is key. Just make sure it’s a classic yellow or green, as those tend to glow best under UV light.
- 1/4 cup Warm Water: Helps extract that glowing goodness from the highlighter.
- Optional: A Small Squirt of Dish Soap: Adding just a tiny bit extra can sometimes help the bubbles last a little longer.
- UV Blacklight: You absolutely need this to see the glow! A flashlight-style one works perfectly.
For Homemade Bubble Solution (Optional):
- 1 cup Warm Water: The base of our bubble mix.
- 2 tbsp Dish Soap: Any standard dish soap will do the trick.
- 1 tbsp Corn Syrup or Sugar: This little trick helps make the bubbles stronger and last longer before popping.
How to Make Glow-in-the-Dark Bubbles
Let’s get glowing! Follow these simple steps, and you’ll have luminous bubbles in no time. If you’re making the homemade bubble solution, mix those ingredients together first until everything is dissolved, then proceed with step 1 using your fresh solution.
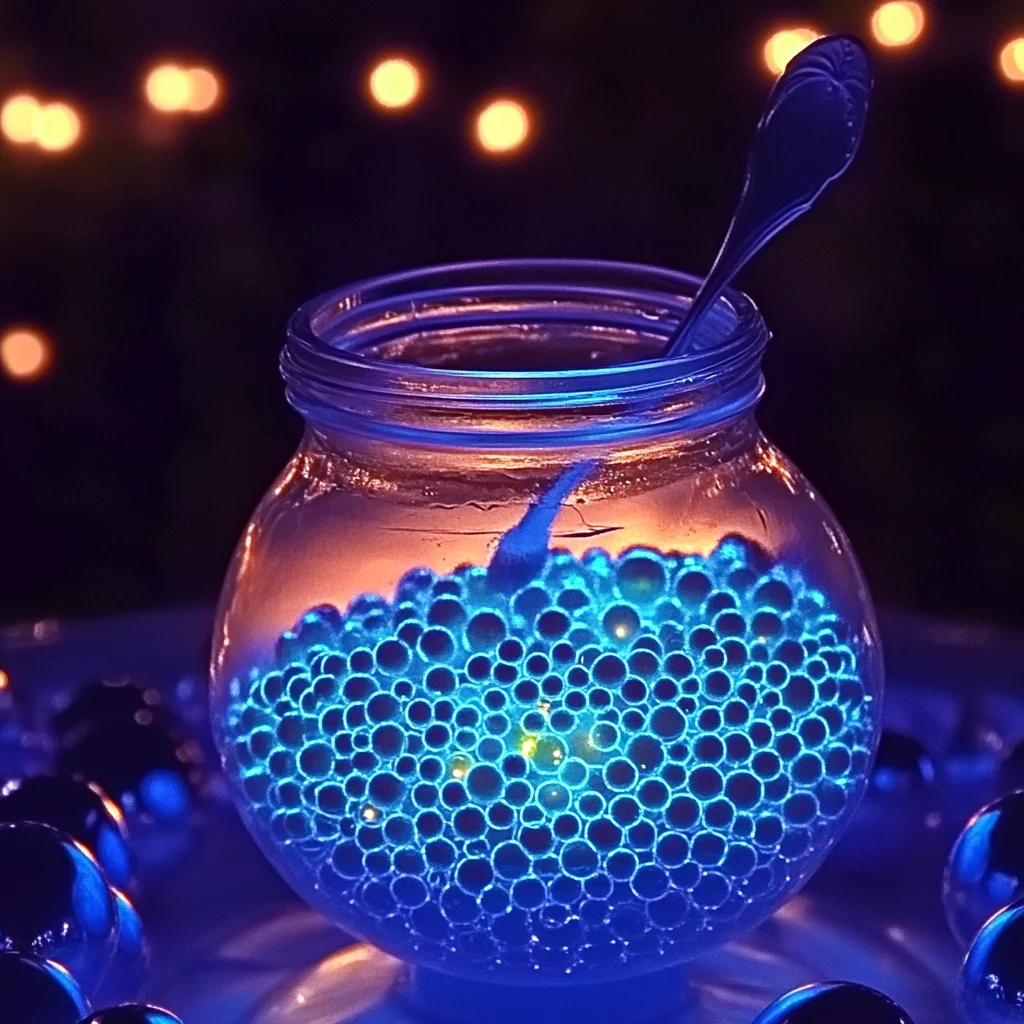
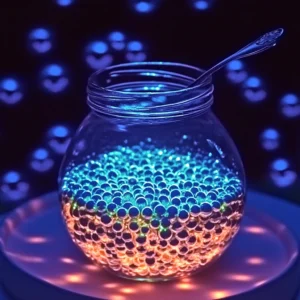
- Extract the Glow: This is the only slightly messy part, and I highly recommend wearing gloves to avoid getting ink on your fingers! Take your yellow or green highlighter and carefully cut it open. Inside, you’ll find a felt tube filled with ink. Gently pull or slide this tube out. Place the felt tube into the 1/4 cup of warm water and let it soak for about 10-15 minutes. Swish it around occasionally to help the ink release into the water. You’ll see the water turn a bright, vibrant yellow or green – that’s your glowing power!
- Make Your Glow Bubble Mix: Carefully remove the felt tube from the colored water (discard the tube). Pour this glowing water directly into your cup of bubble solution. Give it a very gentle stir. You don’t want to stir vigorously or whisk it, as that creates too much foam, which isn’t great for bubble blowing. Just a gentle swirl to combine. If you’re adding the optional extra squirt of dish soap, add it now and give it another gentle stir.
- Bubble Time!: Now for the best part! Grab your bubble wand, a straw (be careful not to suck up the solution!), or even a pipe cleaner bent into a loop. Dip it into your glow bubble mix. Head into a darkened room or wait until dusk. Shine your UV blacklight onto the bubbles as you blow them. Watch in amazement as they shimmer and glow brightly in the dark! It’s truly captivating. This is such a fun project, maybe even more exciting than making easy edible aquarium treats or DIY swirl glow bouncy balls!
Substitutions & Additions
Want to mix things up? Here are a few ideas:
- Highlighter Colors: Yellow and green work best for glowing under standard UV blacklights. Other colors might have some fluorescence but usually won’t be as dramatic. Experiment if you like, but for maximum glow, stick with yellow or green.
- Bubble Wands: Don’t have a traditional wand? Get creative! Bent wire, cookie cutters, or even your hands can make fun, giant bubbles.
- Glow Powder? While tempting, I don’t recommend adding actual glow-in-the-dark powder (the kind used in paints or crafts). It often doesn’t dissolve well and can contain chemicals you don’t want to be breathing in aerosolized bubble form. Stick to the highlighter ink – it’s designed to be water-soluble.
Tips for Success
Making glow bubbles is pretty straightforward, but a few tips can make it even smoother:
- Gloves are Your Friend: Seriously, those highlighter inks can stain! Wear disposable gloves when cutting and handling the felt tube.
- Don’t Over-Soak: 10-15 minutes is usually plenty to get the ink out. Leaving the felt tube in too long won’t necessarily make it glow brighter, but it could potentially add unnecessary residue.
- Gentle Stirring: As mentioned, avoid whipping air into the solution. Gentle is key for good bubbles.
- Clean Up Spills Immediately: If the glowing mixture spills, wipe it up right away to prevent potential staining, especially on porous surfaces.
- Blacklight is Essential: You won’t see the glow effect without a UV blacklight! Natural moonlight or regular lamps won’t work.
How to Store Glow-in-the-Dark Bubbles
You can store any leftover glow bubble solution in an airtight container, like a jar or bottle, at room temperature. Just make sure it’s clearly labeled! The solution should last a few weeks, similar to regular bubble solution, as long as it stays clean (try not to get dirt or grass in it). If it starts to look cloudy or smell off, it’s time to make a fresh batch.
FAQs
Got questions? I’ve got (brief) answers!
Is the highlighter ink safe?
Highlighter inks are generally non-toxic for casual contact, but they aren’t meant to be ingested or get in eyes. Supervise children closely and handle carefully. Wash hands thoroughly after use.
Does it stain clothes or surfaces?
Yes, the highlighter ink can stain, especially on fabrics and porous materials. It’s best to do this activity outdoors or in an area where spills are easy to clean up immediately.
Can I use a different color highlighter?
For the best, most dramatic glow under a standard UV blacklight, yellow or green highlighters work best due to the specific type of fluorescent dye they contain. Other colors might have a slight reaction but likely won’t give you that bright, glowing effect.
Why aren’t my bubbles glowing?
Make sure you are using a UV blacklight (not just a regular flashlight or lamp) and that the area is dark enough. Also, ensure you extracted enough ink from the highlighter felt – try soaking the felt a little longer if the water wasn’t brightly colored.
Get ready to light up your next playtime with these incredible glowing bubbles! It’s such a simple idea, but the payoff in pure fun is huge. Maybe try pairing this fun activity with making some homemade watermelon lemonade for a complete summer experience.
For more fun ideas and delicious recipes, make sure to follow us on Pinterest!
Glow-in-the-Dark Bubbles
Equipment
- UV blacklight
- Container or Cup
- Scissors
- Bubble Wand (or straw/pipe cleaner)
- Disposable Gloves (recommended)
Ingredients
Glow-in-the-Dark Bubble Mix
- 1 cup Bubble Solution store-bought or homemade
- 1 Yellow or Green Highlighter
- 1/4 cup Warm Water for extracting ink
- Dish Soap optional, a small squirt
For Homemade Bubble Solution (Optional)
- 1 cup Warm Water the base of the mix
- 2 tbsp Dish Soap any standard dish soap
- 1 tbsp Corn Syrup or Sugar helps make bubbles stronger
Instructions
- If making the homemade bubble solution, mix 1 cup warm water, 2 tbsp dish soap, and 1 tbsp corn syrup or sugar together until dissolved, then proceed with Step 1 using this solution.
- Step 1: Extract the Glow: Carefully cut open the yellow or green highlighter (wear gloves to avoid staining). Remove the felt ink tube and place it into the ¼ cup warm water. Let it soak for 10-15 minutes, swishing occasionally, until the water is brightly colored. Carefully remove and discard the felt tube.
- Step 2: Make Your Glow Bubble Mix: Pour the glowing colored water into your cup of bubble solution. Give it a very gentle stir to combine, being careful not to create too much foam. If using, add the optional small squirt of dish soap and stir gently again.
- Step 3: Bubble Time!: Dip a bubble wand or alternative into the glow bubble mix. Head to a darkened room or wait until dusk/night. Shine a UV blacklight onto the bubbles as you blow them and watch them glow!