Remember those lazy afternoons, the kind where creativity just seemed to flow with the simplest of things? There’s something truly magical about taking basic ingredients and turning them into something beautiful. This sugar water painting technique is exactly like that! It feels a little bit like magic, watching the colors bloom and spread in unexpected ways on the paper.
Not only is this activity incredibly easy and budget-friendly, but it’s also super quick to set up. Whether you’re looking for a fun project to do with kids, a relaxing creative outlet for yourself, or even a unique handmade gift idea, sugar water painting delivers. It’s one of those simple joys that reminds you that making something lovely doesn’t have to be complicated.
Why You’ll Love Sugar Water Painting
- Fast: From mixing to painting, you’re ready in minutes!
- Easy: Literally just two simple ingredients and some color. No fancy skills needed!
- Giftable: Finished artwork makes a sweet, personal gift.
- Crowd-pleasing: Fun for all ages, from toddlers to adults.
Ingredients
Okay, gathering your supplies for this little bit of magic is seriously simple. You likely have everything you need right in your kitchen and craft corner!
- 1/4 cup sugar: Just regular granulated sugar is perfect. The sweetness isn’t for eating, but for creating a special surface on the paper!
- 1/4 cup warm water: Warm water helps dissolve the sugar quickly and easily.
- Watercolor paints or food coloring: This is where the color comes in! Any watercolor set works great, or you can use a few drops of food coloring in small bowls of water for vibrant hues.
- Paintbrushes: You’ll want a couple – one for the sugar water and one for the color.
- Watercolor paper or thick cardstock: Thicker paper holds up best to the wetness.
- Small bowls or cups for mixing: For your sugar water and your colors.
- Optional: salt, glitter, or black marker: These are fun extras for adding texture and finishing touches!
How to Make Sugar Water Painting
Ready to get started? It’s just a few easy steps to unlock the cool effects of sugar water art. Find a comfy spot, protect your surface if you’re worried about spills, and let’s make some art!
First things first, you’ll need your magical sugar water. Combine the 1/4 cup sugar and 1/4 cup warm water in a small bowl. Give it a good stir until you can’t see any sugar grains swirling around at the bottom – you want it dissolved completely. Let it sit for just a minute or two to cool down slightly so it’s comfortable to work with.
Next, set up your workspace. Lay your watercolor paper or thick cardstock flat on a table. Gather your paintbrushes, your watercolors or little cups of colorful food coloring, and your bowl of cooled sugar water. Have everything within easy reach so you can focus on the fun!
Now for the first layer! Dip one of your paintbrushes into the sugar water mixture. Paint designs, shapes, or just random swooshes onto your watercolor paper. You won’t see much color yet, just a slightly wet, shiny area. This sugar water is the secret sauce that will make the colors do cool things!
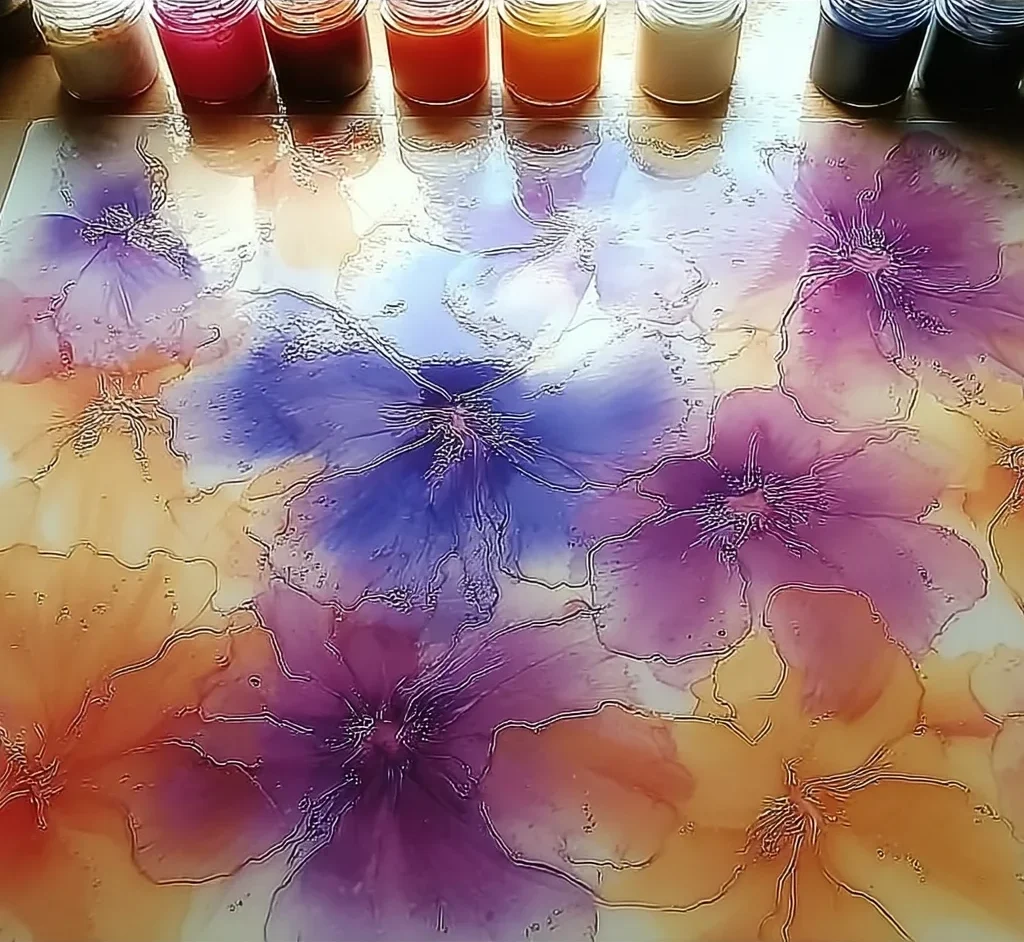
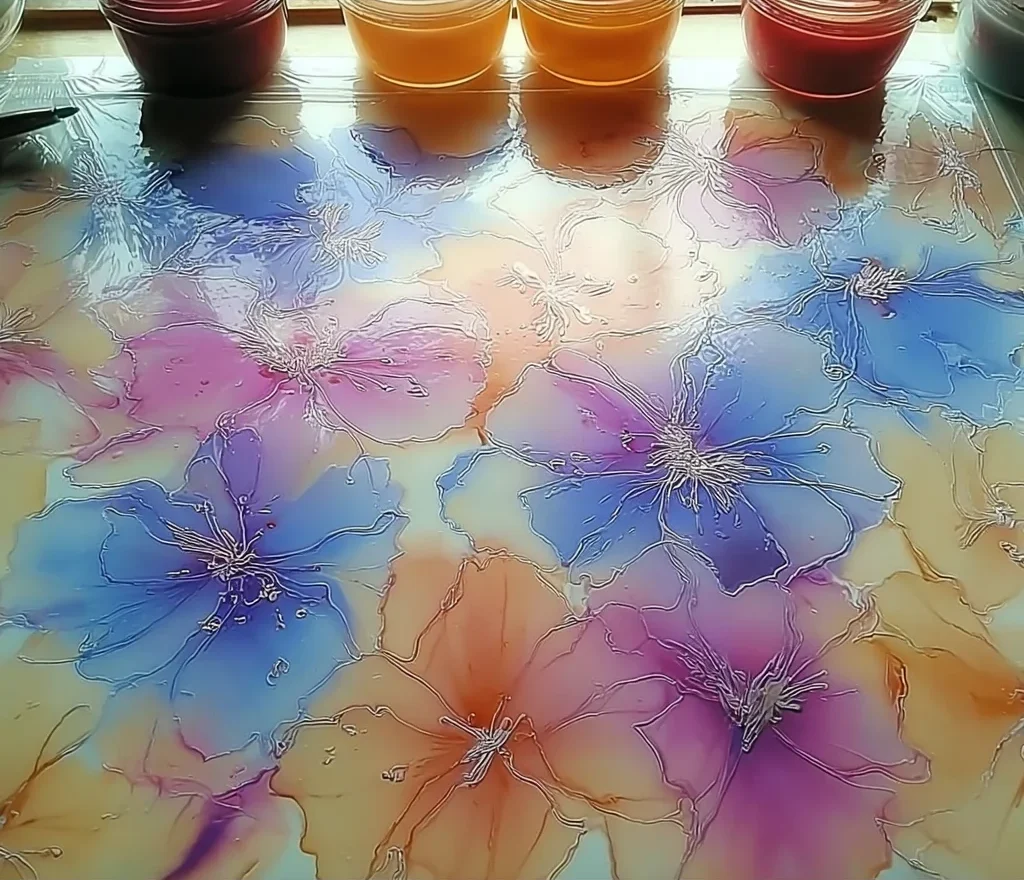
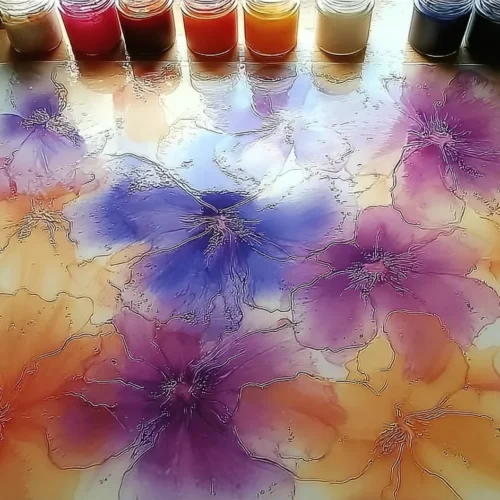
While that painted sugar water surface is still wet and glistening, pick up your other brush and dip it into your watercolor paint or food coloring. Gently touch this colorful brush to the areas on your paper where you painted the sugar water. Watch what happens! The color will spread and bloom beautifully across the wet, sugary surface. It’s quite mesmerizing!
Don’t be afraid to layer colors! While the first color is still wet, try dabbing a different color near it. See how they blend and interact. This is where you really start to experiment and see the unique effects of sugar water painting. If you’re feeling adventurous, you can sprinkle a pinch of salt onto the wet paint – as it dries, it creates neat crystallized textures!
Once you’re happy with your colorful creation, let your artwork dry completely flat. This is important so the colors and any textures you added stay in place. Be patient – it might take a little while depending on how much sugar water you used.
After your masterpiece is totally dry, you can add some finishing touches if you like! Use a black marker to outline your shapes or add details. Or, if you really want some sparkle, carefully add a little glitter to areas you might want to stand out. It’s totally up to you how you want to finish your art! This simple painting process is a great way to spend an afternoon, maybe paired with another easy craft like making easy DIY bioplastic suncatchers or some charming crayon sun catchers.
Substitutions & Additions
This recipe is wonderfully forgiving and open to experimentation! Here are a few ideas to switch things up:
- Paper: While watercolor paper is best, try thick drawing paper or even cardstock from old cereal boxes (painted white first!).
- Color: Instead of traditional watercolors, mix a few drops of liquid food coloring or even watered-down acrylic paints in small bowls.
- Texture: Besides salt, try sprinkling a tiny bit of fine glitter onto the wet sugar water before adding color for a subtle shimmer effect that the color will flow around.
- Scent: Add a tiny drop of non-toxic essential oil like vanilla or lemon to the sugar water for a lightly scented piece of art!
Tips for Success
This is such a simple project, but a couple of pointers can make it even smoother:
- Don’t go too thick: Resist the urge to use too much sugar water. A light layer is all you need. Drenching the paper can make it wrinkle excessively or take forever to dry.
- Work while wet: The magic really happens when you add the color to the sugar water while it’s still quite wet. If it starts to dry, you won’t get the same lovely spreading effect. You can always paint more sugar water onto areas that have dried.
- Quality paper helps: While you can use thinner paper, thicker paper like watercolor paper or cardstock will give you the best results and prevent the paper from buckling too much.
- Protect your surface: Even though it’s just sugar water and paint, it’s always a good idea to lay down some newspaper or a plastic tablecloth, especially with enthusiastic young artists!
How to Store Sugar Water Painting
Since this is artwork and not food, storage is about preserving your creation! Make sure your painting is completely, utterly dry before storing or displaying it. Once dry, you can frame your finished pieces, hang them on the fridge, or store them flat in a portfolio or between sheets of tissue paper to protect them from dust and bending.
FAQs
Got a few more questions swirling? Let’s clear them up!
Can I use cold water?
Warm water helps the sugar dissolve much faster and more completely. Cold water will work, but you’ll need to stir a lot longer to make sure all the sugar is dissolved.
Is the sugar water edible?
While the ingredients individually are edible, this is an art project, and the sugar water is applied to paper and mixed with paints/food coloring. It is NOT intended for consumption. Keep little hands from tasting the art supplies!
What kind of paint works best?
Watercolors are ideal as they are designed to spread with water. Liquid food coloring or watered-down washable paints also work well and often create very vibrant results.
Follow us on Pinterest for more delicious recipes and fun ideas!
Magical Sugar Water Painting
Equipment
- Paintbrushes
- Watercolor paper or thick cardstock
- Small bowls or cups
Ingredients
- 1/4 cup sugar regular granulated sugar
- 1/4 cup warm water
- Watercolor paints or food coloring
Optional Additions
- salt
- glitter
- black marker
- non-toxic essential oil like vanilla or lemon
Instructions
- Step 1: Combine the ¼ cup sugar and ¼ cup warm water in a small bowl. Stir until the sugar is completely dissolved. Let it cool slightly for a minute or two.
- Step 2: Set up your workspace. Lay your watercolor paper or thick cardstock flat. Gather paintbrushes, watercolors or food coloring, and the bowl of sugar water.
- Step 3: Dip one paintbrush into the sugar water. Paint designs, shapes, or swooshes onto your paper. You’ll see a slightly wet, shiny area.
- Step 4: While the sugar water is still wet, use your other brush to dip into your watercolor paint or food coloring. Gently touch the colorful brush to the areas where you painted the sugar water and watch the color spread and bloom.
- Step 5: Experiment with layering colors while the paper is still wet. If desired, sprinkle a pinch of salt or fine glitter onto the wet paint for texture.
- Step 6: Let your artwork dry completely flat. Once dry, you can add finishing touches like outlining with a black marker or adding more glitter.